Making Speakers
November 01, 2009 Filed in:
Demo CornerBonnie Lasby Physical and Engineering Science Dean’s Office University of Guelph
blasby@uoguelph.ca

I prefer to do this as an activity as opposed to a demonstration, and have found that it works very well for students in Grades 7 to 12 visiting the University. I start with a discussion about sound and then compare a speaker to the human ear. In the discussion on speakers, I also talk about magnets and how they work, and I explain the difference between permanent magnets and electromagnets. After this discussion, I explain how to make speakers using a plastic cup, a magnet, and a coil of wire. Each student makes his/her own speaker and then tests it.
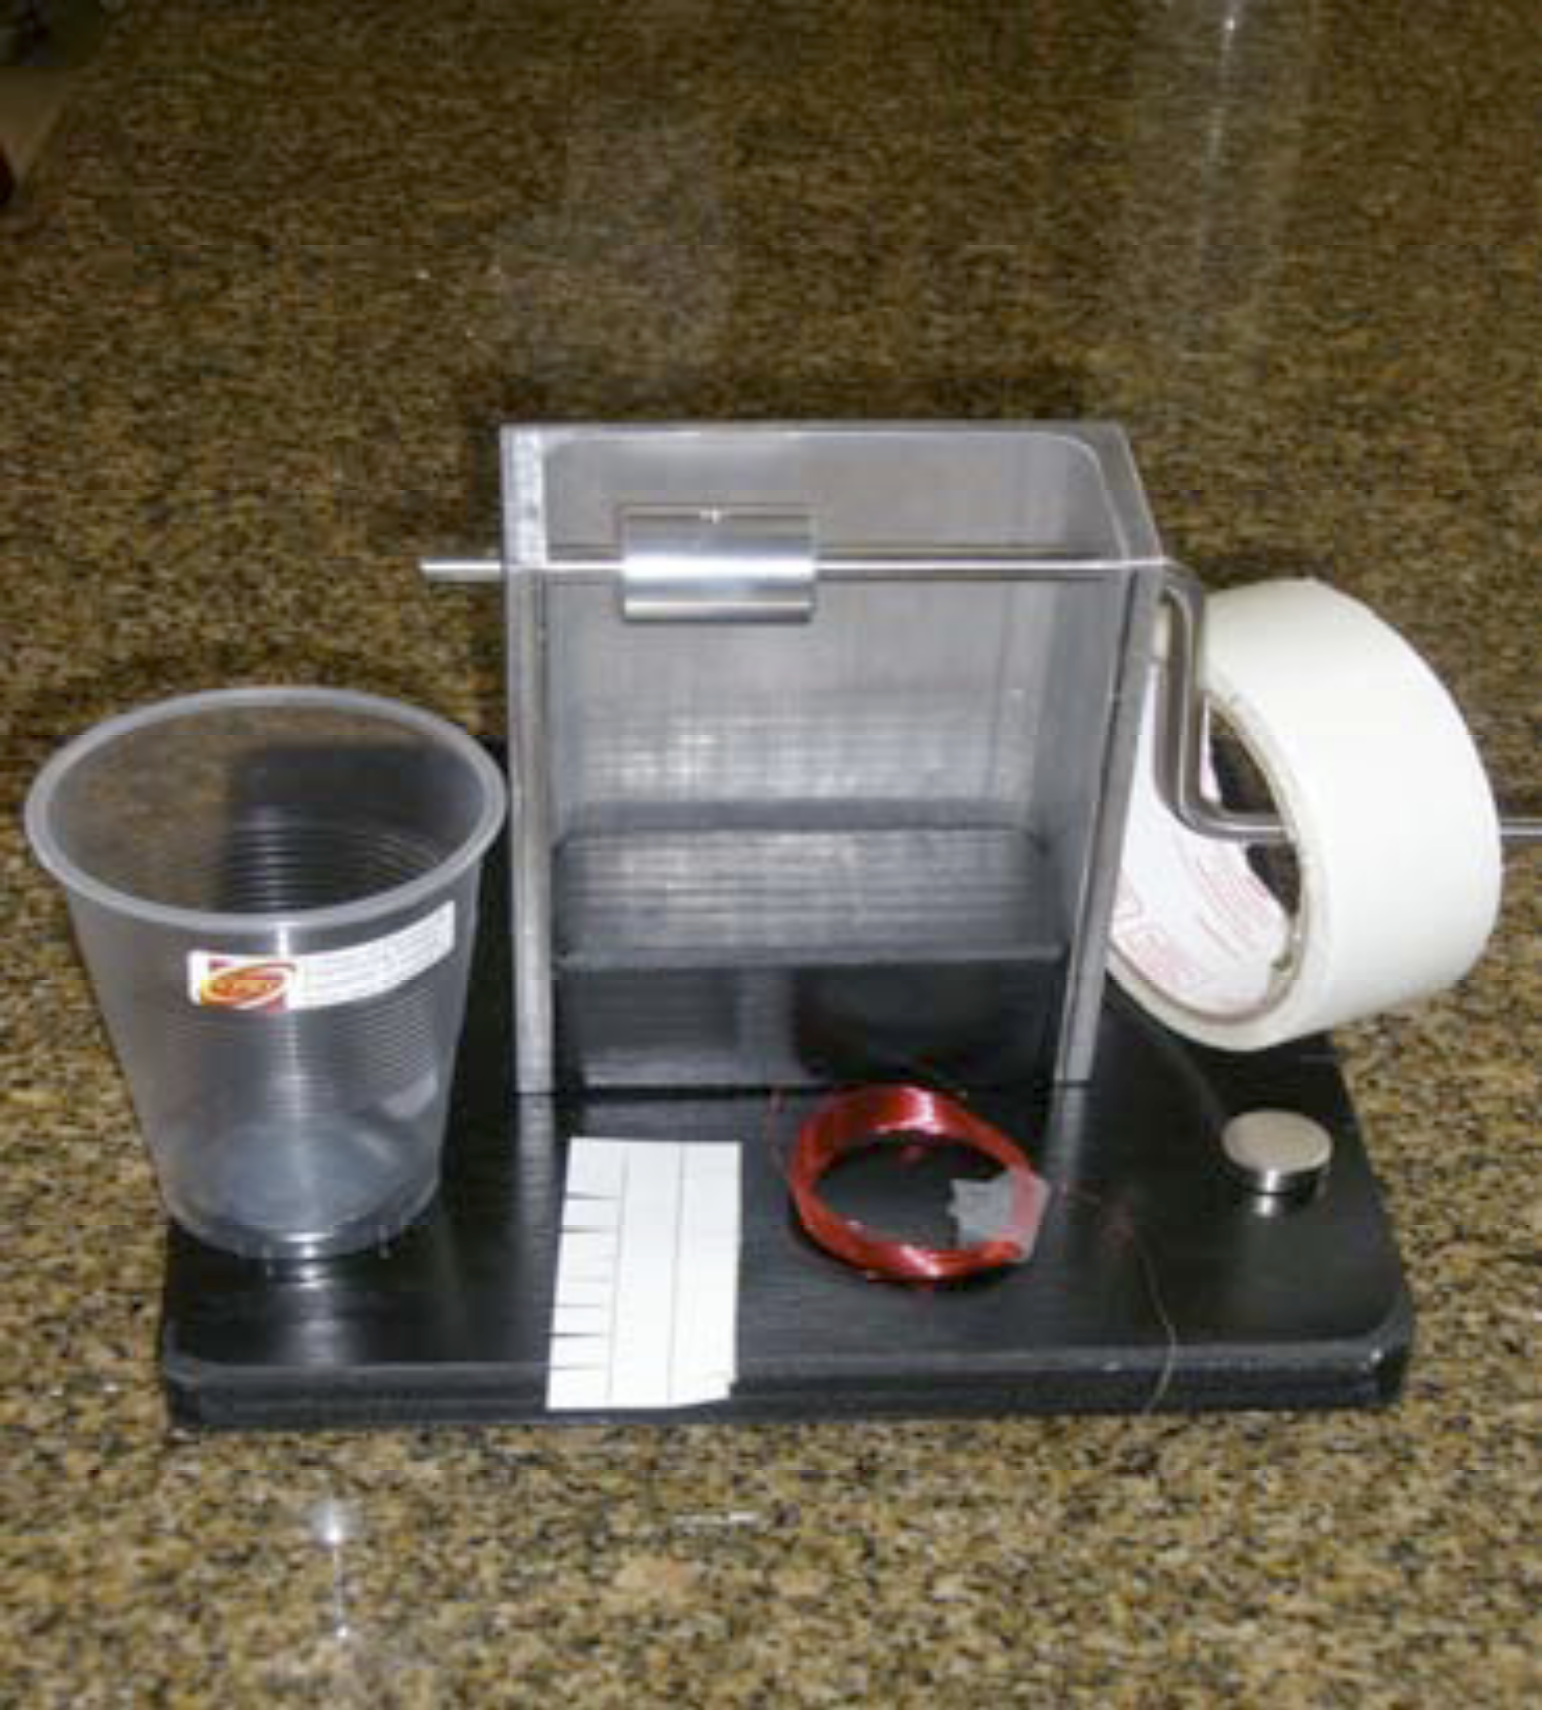 Figure 1: Materials required.
The speaker requires a coil of wire to make the electromagnet. I use 40 feet of 32-gauge wire. This wire tangles very easily so I’ve had wire winders built (Figs. 1, 2, and 3). A paper strip approximately 3 cm wide is used to create a spool. Slits 1 cm long are cut into both sides of the strip and then the strip is wrapped around the wide part of the spindle and taped. The sides of paper are folded up to form a spool to hold the wire. The diameter of the spindle is used to calculate the number of revolutions needed to obtain 40 feet of wire.
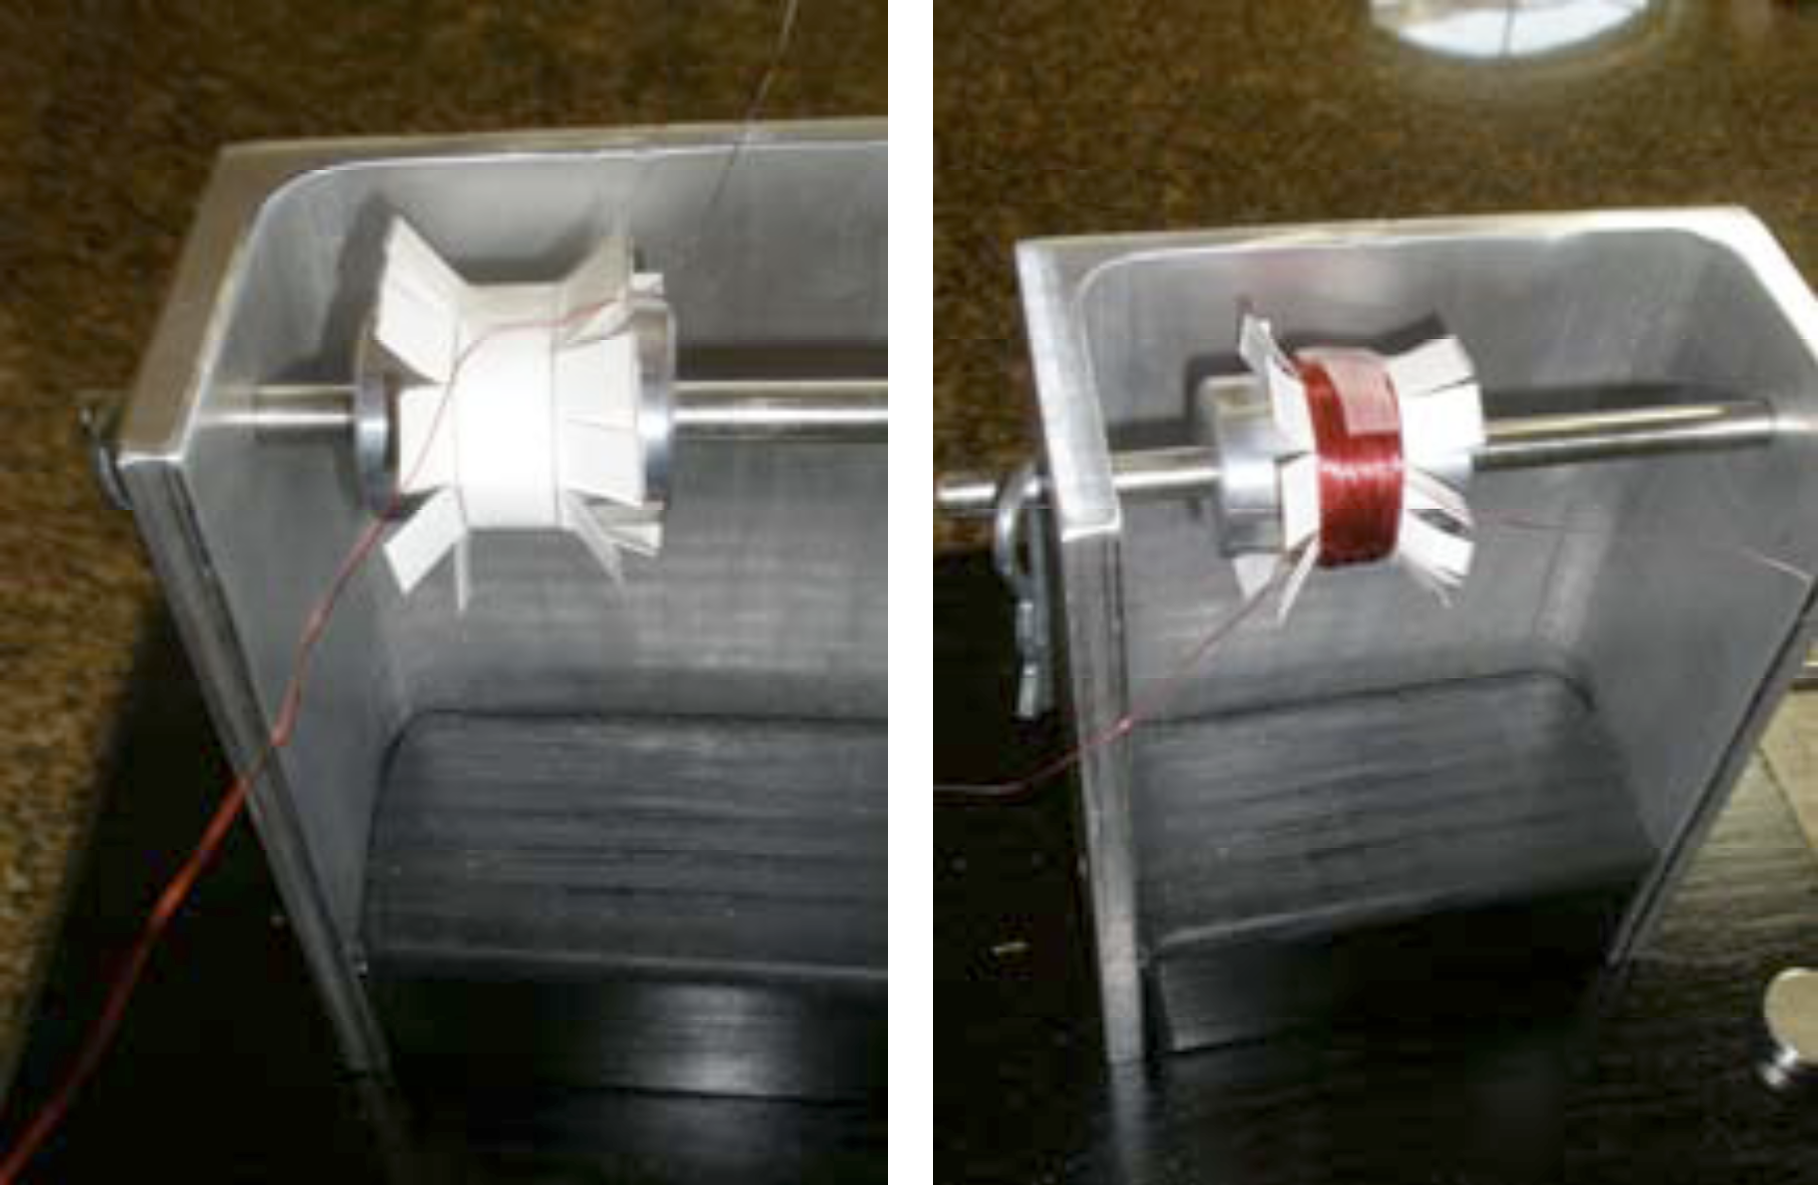 Figure 2: Attaching wire to paper spool and finished wire spool.
Wire is taped to the spool as shown in Figure 2. Approximately 5 cm at the start and end of the wire must be left exposed. The ends of the wire are scraped with steel wool to remove the protective coating and expose bare wire.
Once the wire spool is complete with 40 feet of wire with bare ends (Fig. 2), the spool is removed from the spindle. A plastic cup is prepared by covering the bottom of the cup with double-sided tape. The paper on one side of the spool is folded back and pressed to the double-sided tape so that the spool is centred on the bottom of the cup. A magnet is pressed onto the tape in the middle of the spool. I’ve used both neodymium and ceramic magnets. (Although the neodymium magnets give better sound from the speakers, the ceramic magnets are safer to use. Neodynium magnets are so strong that they can snap together and shatter and/or pinch skin hard enough to draw blood.) The other side of the paper spool is folded in and a piece of heavy paper is attached with tape.

A set of wires with alligator clips is plugged into the output of an amplifier. The alligator clips are attached to each end of the speaker wire (Fig. 3). An input device such as an iPod is attached to the amplifier and both are turned on. The amplifier should be set so that sound comes only from the output wires and not from any speakers built into the amplifier.
The speakers are almost fool-proof. Rarely have they not worked even if the wire spools are not wound properly. If the speaker does not work the first time it is hooked up, make sure that the wire ends are scraped well to ensure a proper connection between the wire and alligator clips.
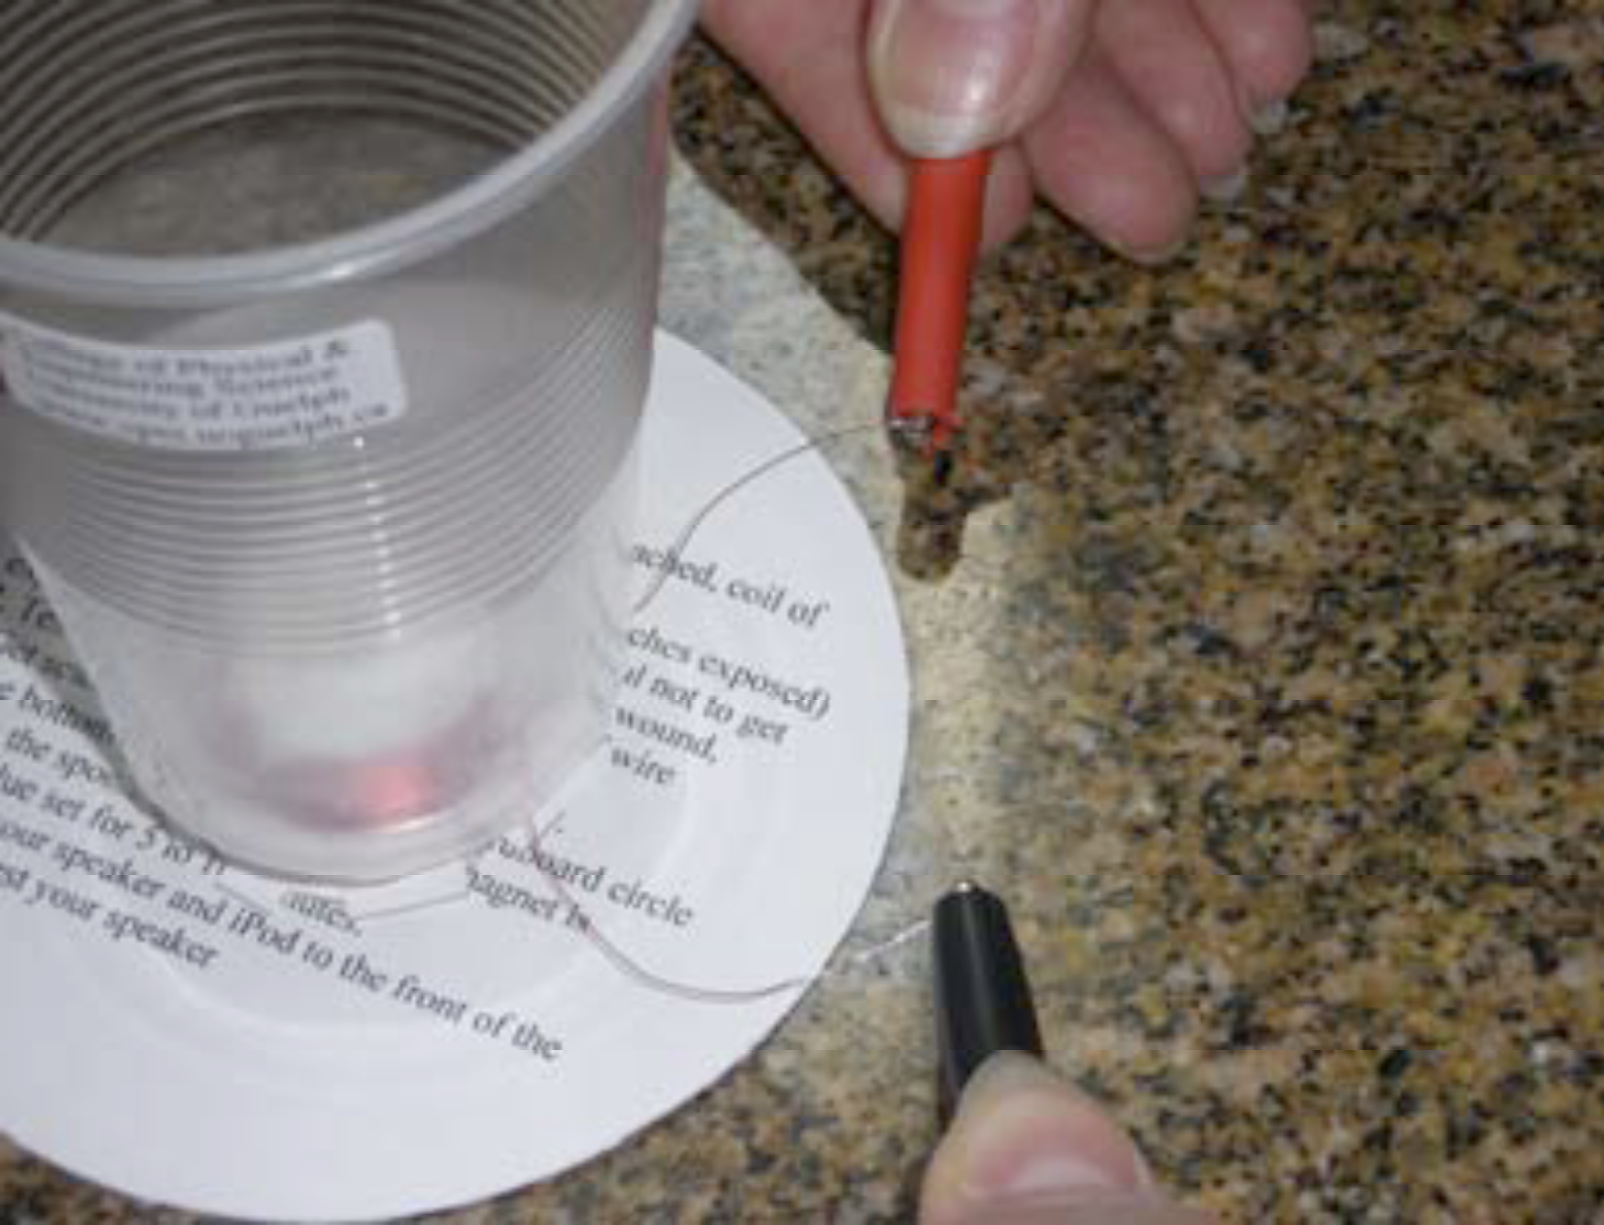 Figure 3: Connecting speaker to amplifier.
The time and effort it takes to set up this activity is worth it when you see look of amazement on the students’ faces when they hear sound coming from their plastic cups.

Column Editor: Ernie McFarland, Physics Department, University of Guelph, Guelph, Ontario, N1G 2W1 Tags: Electricity, STEM, Waves and Sound
