Margaret Scora, Teacher at Monsignor Paul Dwyer CHS
mscora@sympatico.ca
Keep it real and keep it cheap
It is very important to have our students engaged in the classroom in order for deep learning to occur. Your students need opportunities to use their creative spark and build on their 21st century learning skills.
Peter Benson’s TED talk does a great job of presenting how important this is.
Ideas for projects proliferate but many of these are time-consuming, expensive and beyond the skills of an average student and the tools of an average physics classroom. However, your students can build a catapult with K’Nex™ in just one class with virtually no prep and no trips to the wood shop.
Most of our students have little hands-on experience with building anything. The beauty of K’Nex™ is that it is so easy for anyone to use. It is a versatile, reusable and economical building toy. Watch for the sales at Walmart and Toys’R’Us or Costco. A box of about 500 pieces costs around $20 and about eight boxes should suffice for a start.
For this article I will focus on a K’Nex™ penny catapult that must launch a penny the farthest. I have attached the scaffolded worksheets I created for use in my 3U and 4C course. The 3U assignment focuses mainly on energy transfer while the 4C also includes torque and levers. I am sure there is room for improvement, so please email me your suggestion or questions.

It is easy to alter this project so it can be used at any level of inquiry based learning project (confirmation, structured, guided or open) depending on the skills your students already possess. Furthermore, it can be used as a pre or post activity or they can build the catapults early in the course and then use them again and again in a bunch of mini-activities later.
Regardless how you use your K’Nex™, the students will be excited about the devices they build. We are always happier when we get to create something. Deep learning is improved when students get to explore it with a real object. Three dimensions are better than two, and hands on beats paper and video anytime!
Don’t forget to publicize the project! Invite the yearbook staff in to take pictures. Show off the projects during lunch or grade 8 visits. Nurture the spark and let Physics be Fun and Creative!
Design, then build and then analyse
I usually require my students to do a quick, scaled design sketch of their catapult before they start building. They need to know what a catapult is, show where the load and fulcrum will be and how the parts are joined. I encourage them to play with a ruler or pencil to figure it out. This sketch is supposed to show the key concepts - not to provide a detailed specification of the K’Nex™ pieces they will use.
I give the students approximately one 75-minute period to build their catapult. Then they have two more to take measurements and complete the assignment. I require that all the building be done in class. This means I know who actually built the structure. I get them to present their designs and I get them to write about what changes they made to their plans and why what they liked about other designs.
Note: The device has a size limitation. This reduces the chances of winning by just going BIG and it reduces the amount of K’Nex™ and storage space you need. I also do not allow trebuchet because there are elements that are too hard o measure.
Building tips
The only instructions I give is to show them how two pieces snap together so that they are fixed in place and how to allow rotation of parts.
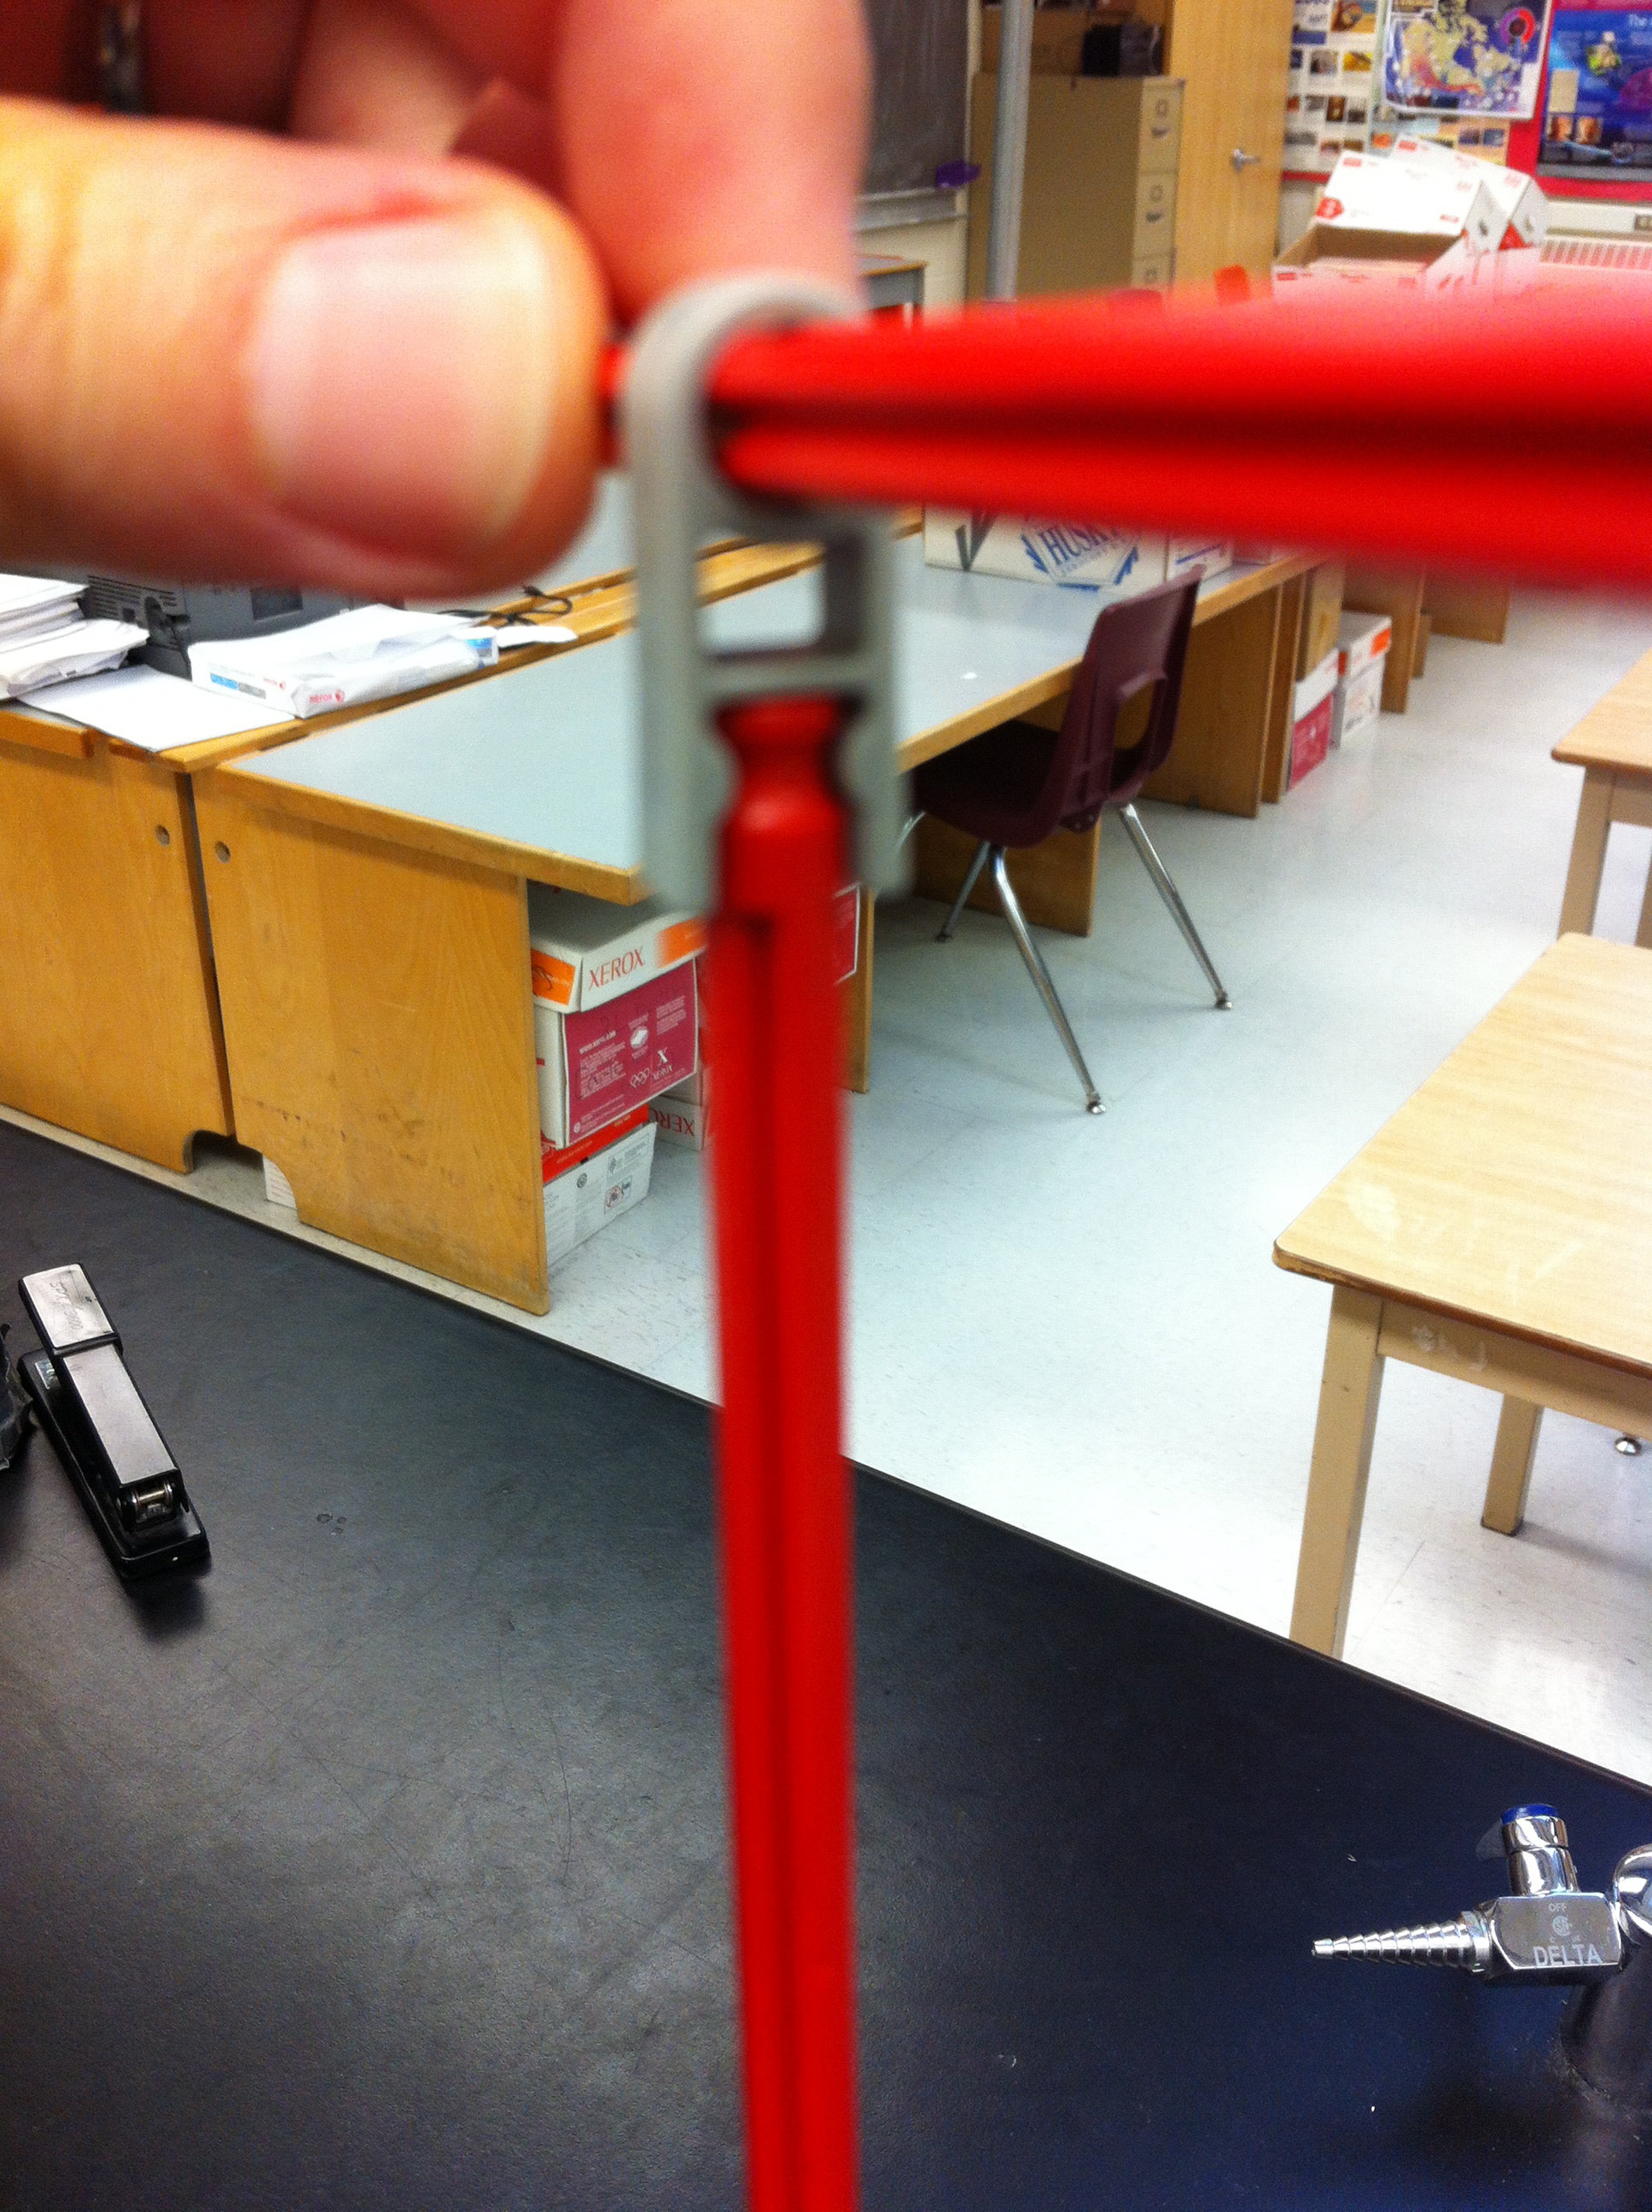
We build this device after studying projectile motion, so the students usually remember that the best launch angle is 45 degrees. This means that there needs to be a “stop bar” to launch the penny from its holder at the best angle. It is easier to measure the complementary angle as shown in the diagram above. There will be some error in that angle depending on how much the arm bends and whether the penny is released exactly when the arm strikes the bar.
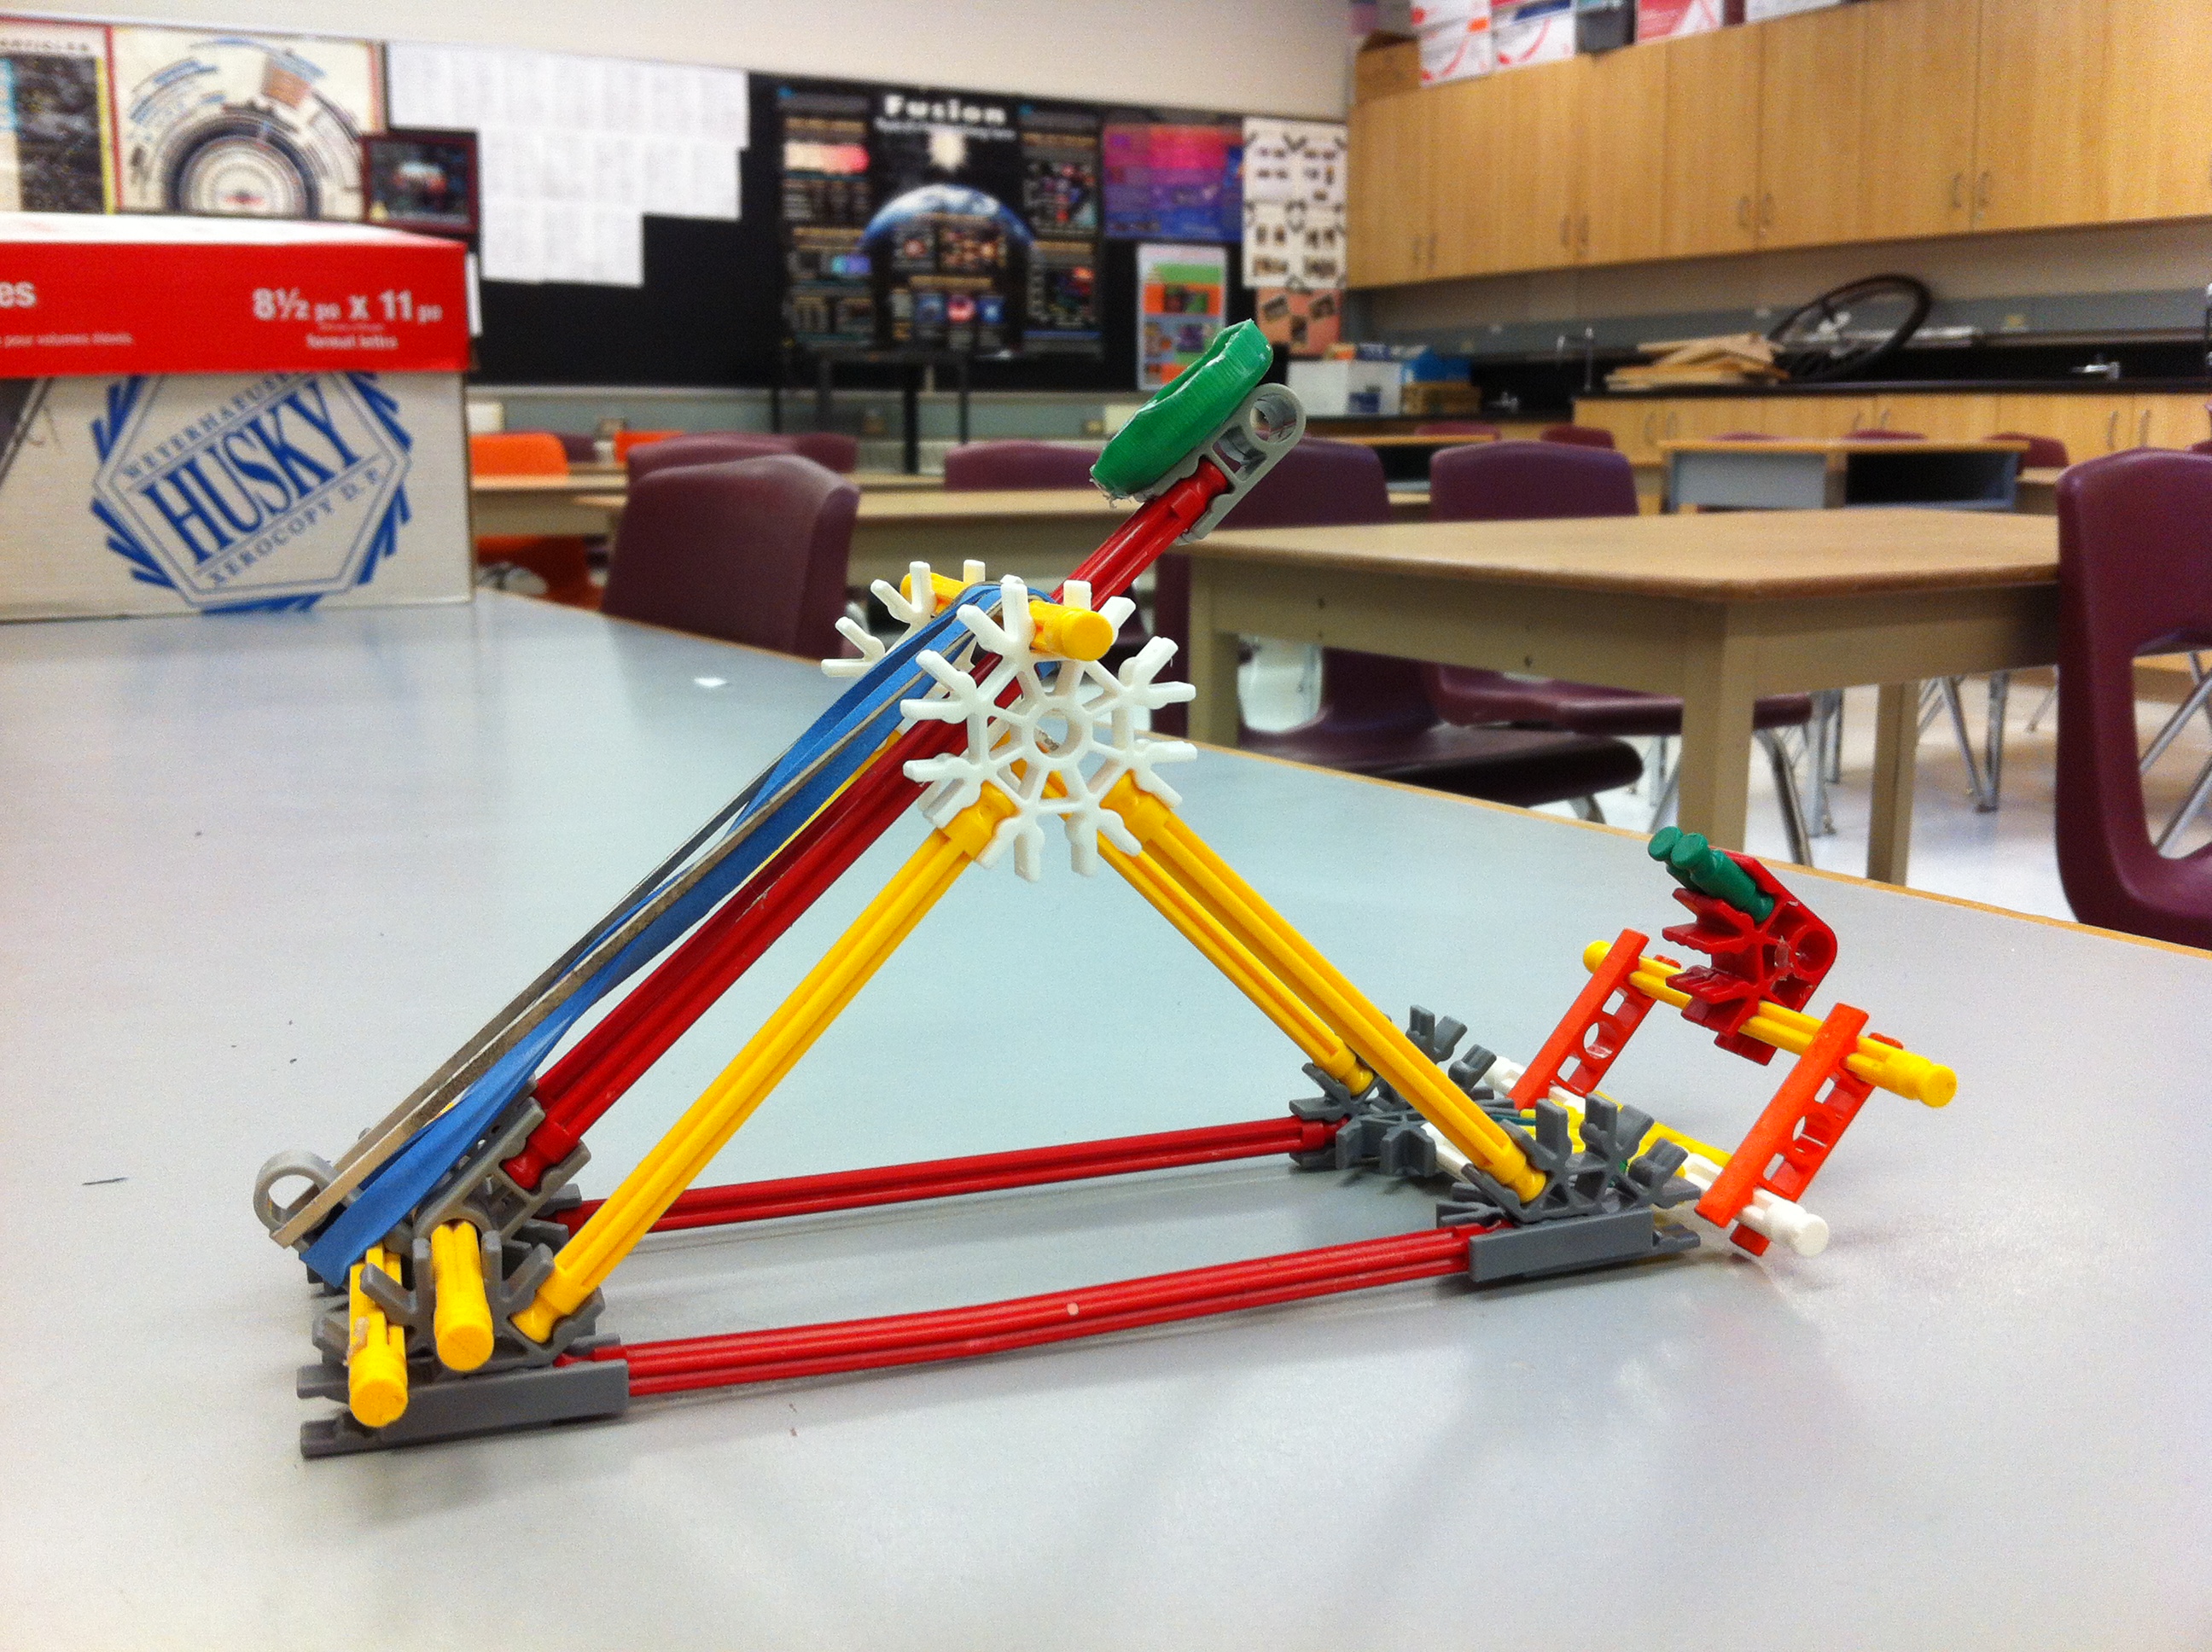
I require a safety device, a latch, so the catapult can be loaded, locked and released upon request. This also reduces the likelihood that a student gives the catapult a little extra boost when releasing by hand. The simplest latch is the dowel type latch where you just pull out the dowel to release the arm. However, pulling the dowel can cause the arm to twist among other things!
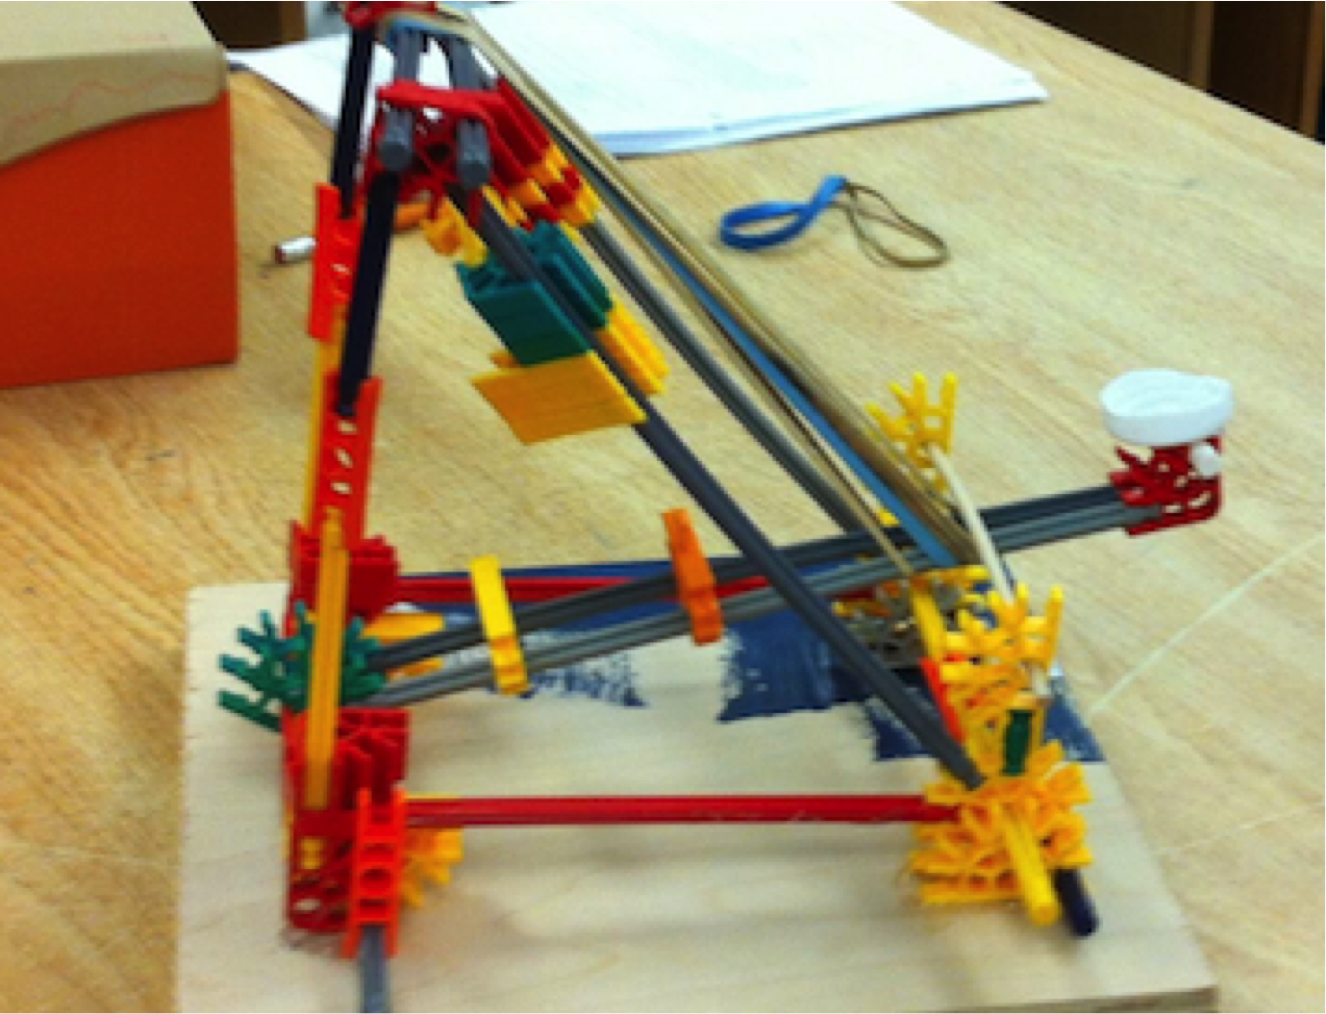
The “K’Nex™ Pull Tab” works fairly well. Note the unconventional design for a catapult, no triangle supports, low launch angle! But did that sucker fly!
We use spring scales to measure the forces required to load the arm.
Usually the distance the projectile goes is limited by the structural integrity of the K’Nex™. If you add another elastic the structure breaks!
If the structure jumps when firing you might allow duct tape or masses to hold it down.
If you don’t have any K’Nex™ then students can use balsa wood, dowels or even pencils.
Extra Materials
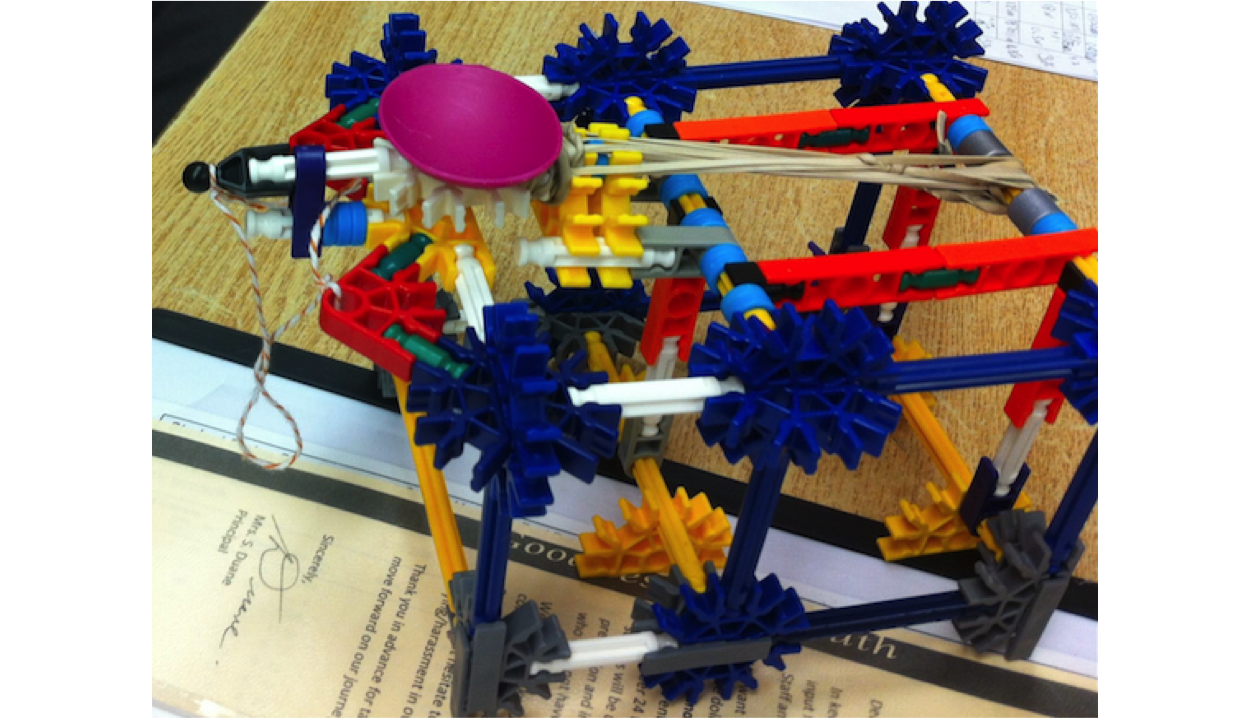
As well as K’Nex™, I provide a supply of elastics, string, hot glue and cable ties. The hot glue peels off the K’Nex very easily when they dismantle their devices. Some students have made their catapults spring operated.
I also provide bottle caps that can be hot glued to the throwing arm to hold the penny but often the students come up with their own ideas. The scoop of a plastic spoon also works well. See photo!
If you do not have a collection box of pennies then you can use another small object - perhaps a piece of modeling clay. The nice thing about the modeling clay is that it might stick where it lands.
HAVE FUN!
Tags: Contest, Energy, Projectile Motion, STEM
