Chris Meyer, Past President of the OAPT
Chris_meyer1@sympatico.ca
The revised grade 9 science curriculum introduces a new problem-solving process that might not be familiar to many teachers: the (engineering) design process. Let's explore this problem-solving strategy and examine some design tasks that I have created for grade 9 science. Read on!
A tale of two problem solving methods
Most teachers and students are familiar with a type of problem solving that is linear and goes something like this:
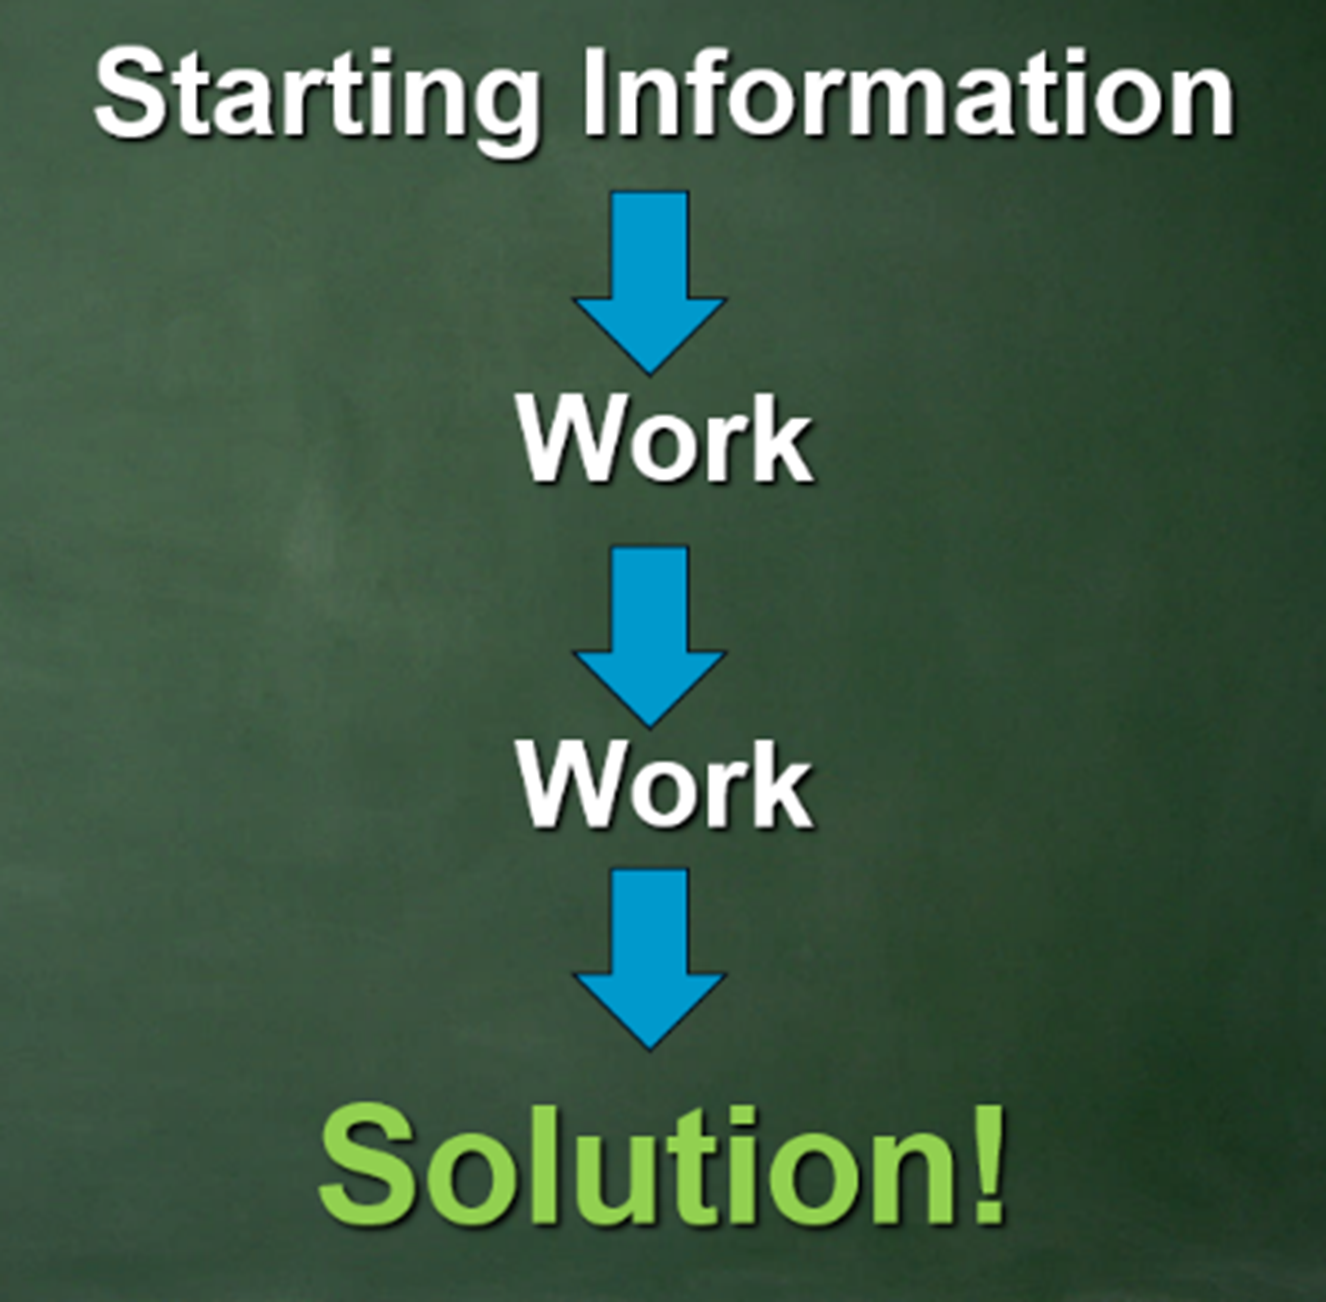
This approach works well when faced with familiar problems that have a well defined and well practiced solution process. We have likely tackled these problems many times before and are confident that our result will be a reliable solution. For example, you have a source and a load with a given voltage and resistance and need to determine whether a fuse will burn out: find the current, use Ohm’s Law, decide what happens, done! Other kinds of problems, however, do not yield to such a direct process. Sometimes we don't know what the actual problem is until we start working on it; other times we don't know whether a solution will work until it is tested. Situations like these require a different kind of problem-solving.
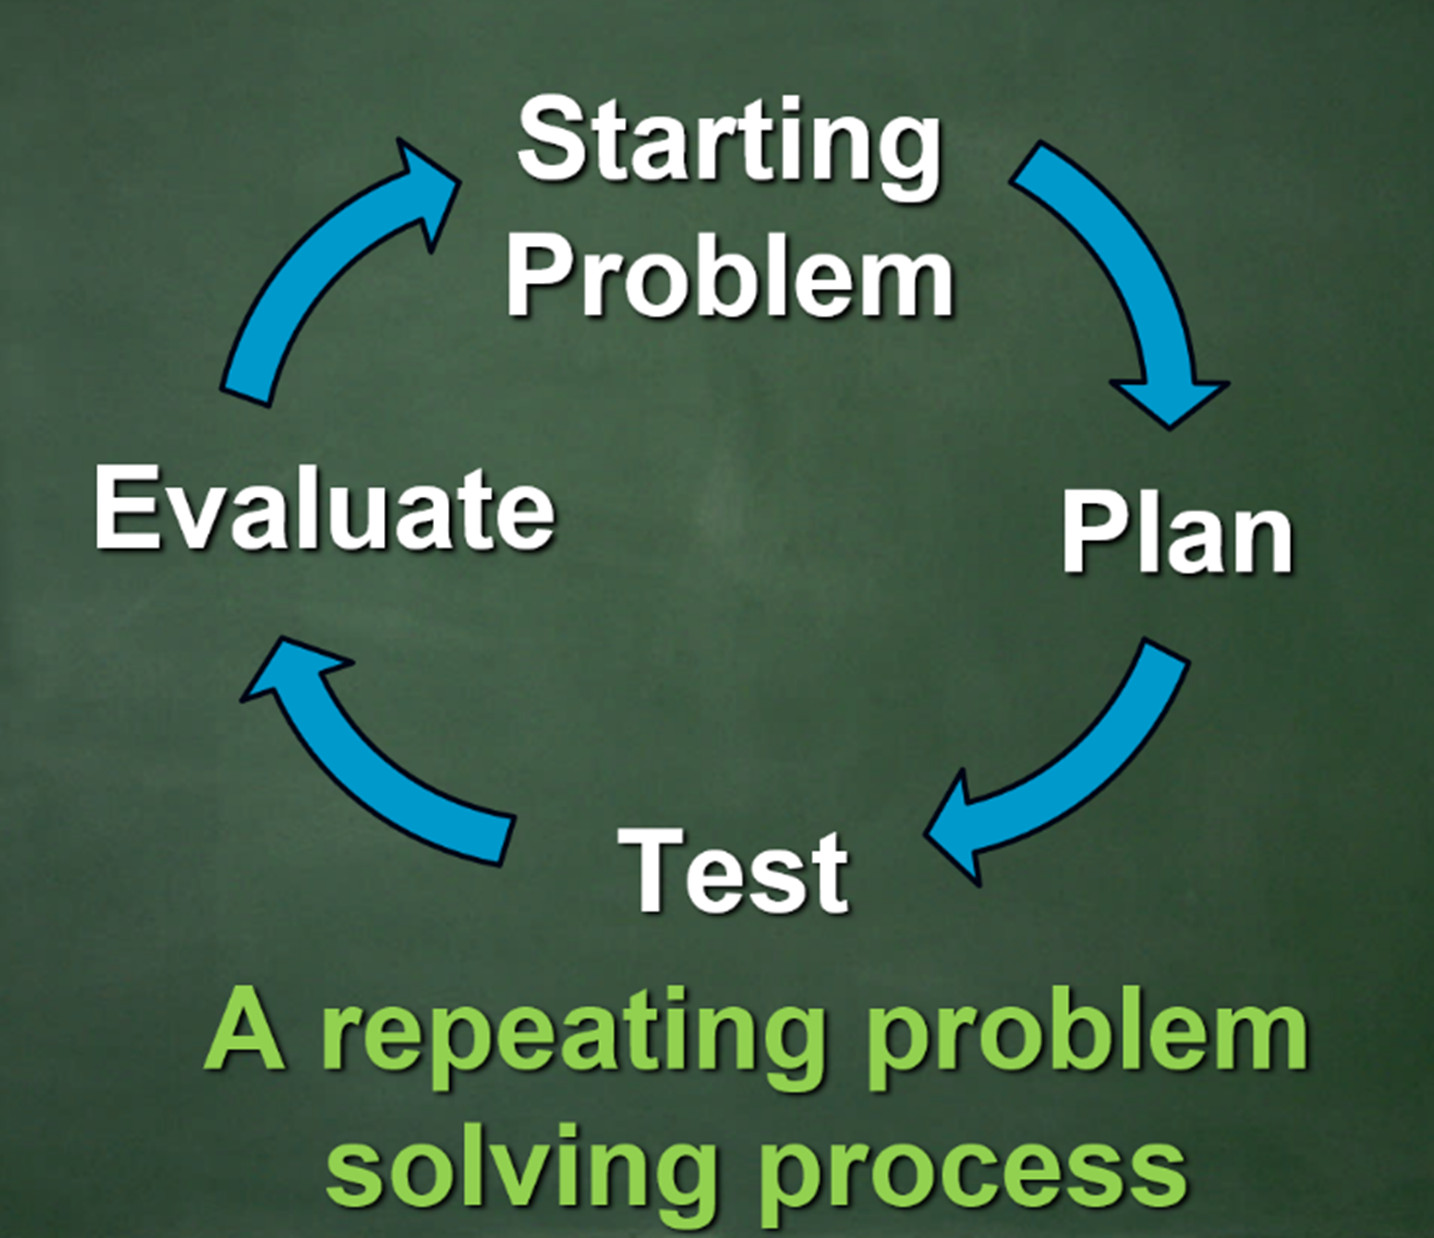
Solving problems in cycles
Here is a different problem: we are given an electrical source and bulbs and need to create the best light using that source. How is this problem different? Its goal is less clear. What does “the best light” even mean: a light that lasts the longest or a light that is brightest? Also, its solution process is not direct: we might need to build and try out a few possible lights. We will likely need multiple attempts to not just solve the problem, but to first understand the problem better. This is the essence of the design process: a strategy for designing a solution to a problem in cycles with each attempt providing valuable input for the next.
A “solution” to a design process task is likely not unique. There might be a variety of successful solutions with different ones working well under different circumstances. This process is intended for a world that is complex and that might not tolerate simple answers!
The (engineering) design process
The careful reader hopefully noticed that the title of this article has the word engineering in brackets! The design process presented in
the new curriculum and described here is used by
many professionals beyond engineers; basically by anyone in the business of carefully designing something. In fact, this is how I develop new lessons for science: using an iterative process involving repeated planning, testing, and evaluating. I appreciate the enthusiasm of the curriculum writers to highlight engineering, but I think it is more valuable to emphasize the wide range of people who use this problem-solving process. A design team will have many members with various skills and backgrounds, possibly even including an engineer if the task is sciency!
Designing a design process activity
There is a good chance this process is quite new to you and is wrapped in mystery; maybe even inside an enigma. Fear not! I will soon share with you some design process tasks that I have developed for grade 9 science. A design task does not have to be a long, complex project. It can be a fun, one-day activity with no marking for the teacher! But it can also be a rich, multiday task that students will remember for a long time. Before I share activities that I have created, let's think about how you can transform what you are already doing into a design task.
- Choose a building task. Think of what you are already doing in your science course. Do you have any activities where students build something? Maybe it's currently a small part of a lesson. For example, at the start of our grade 9 course we do a cardboard boat building activity as part of a density lesson.
- Add the design process structure. If you ask a group of students to “go build something”, they will most likely randomly start grabbing materials and glomming them together with one student doing most of the building and others watching. To avoid this, add structure to your task. Don't let students grab materials until they develop their first plan and check it with you. Ask them to make notes for each plan, record the test results, and describe ideas for improvements. This can be done formally on paper or quickly on a whiteboard. My boat-building activity has a planning and testing step that are done just once, so I could expand this to include full, repeating cycles.
- Group size and task complexity. If the task has a lot of structure or things for multiple students to do (the chemistry task I will share is an example of this) a group of four can work well. Simpler tasks are better suited to pairs of students, otherwise some will find themselves in the role of spectator rather than participant. Returning to my boat-building task: students are able take turns with the construction while they individually complete their investigation page, so the usual four students of our groups work fine but pairs might actually be better.
- Prior knowledge and the first cycle. If students have useful prior knowledge to apply, the planning phase of the first cycle can be very valuable. If not, the first planning phase can be a waste of time and a discouraging step in the design process. In the latter case, it is better for students to work with the materials right away so they can learn about them and then build and test their first product as soon as possible. My boat building activity illustrates this problem: many students don't have experience working with cardboard and masking tape to produce something that floats. Many of their boats have comically obvious holes and gaps; they are doomed to sink immediately with disappointing results (they currently only build once)! If instead, the first step in the activity was to quickly build and test a very simple boat, students would swiftly learn that they need to tape up all the gaps or create a boat with a more stable shape. They could then come up with a better-informed design in a second cycle, which my students currently do not do.
So adding some structure and multiple attempts to an existing construction task can turn it into a good design process activity. I should improve my boat activity!
Design tasks for grade 9 science
The
new curriculum conveniently does not provide examples of design tasks for grade 9. In a presentation by ministry education officers, they mentioned that the design tasks should be part of the four major units, as opposed to a more general or content-independent task. There is one criterion that I think is critical for choosing a good design task for science: the task should require students to apply or develop core content knowledge from their science class. This probably sounds reasonable but is challenging to pull off! This semester I developed two tasks for grade 9 science that I will share with you. I also have examples from grade 11 and 12 physics where we have been doing design tasks for many years.
Light for education
Here is a design task suitable for the grade 9 electricity unit. As an introduction, take a moment to interpret this graph:

Rural areas of Uganda face an acute educational challenge. Students in rural areas are the least connected to the electrical grid, yet their schools and students must compete for results with their more connected urban counterparts. In particular,
rural students need light at home to read and study. This task has students take on the role of a team hired by an NGO (non-governmental organization) to design a portable light that will run off a 6-V battery that is charged from a solar panel at school. The team needs to design the best light possible.
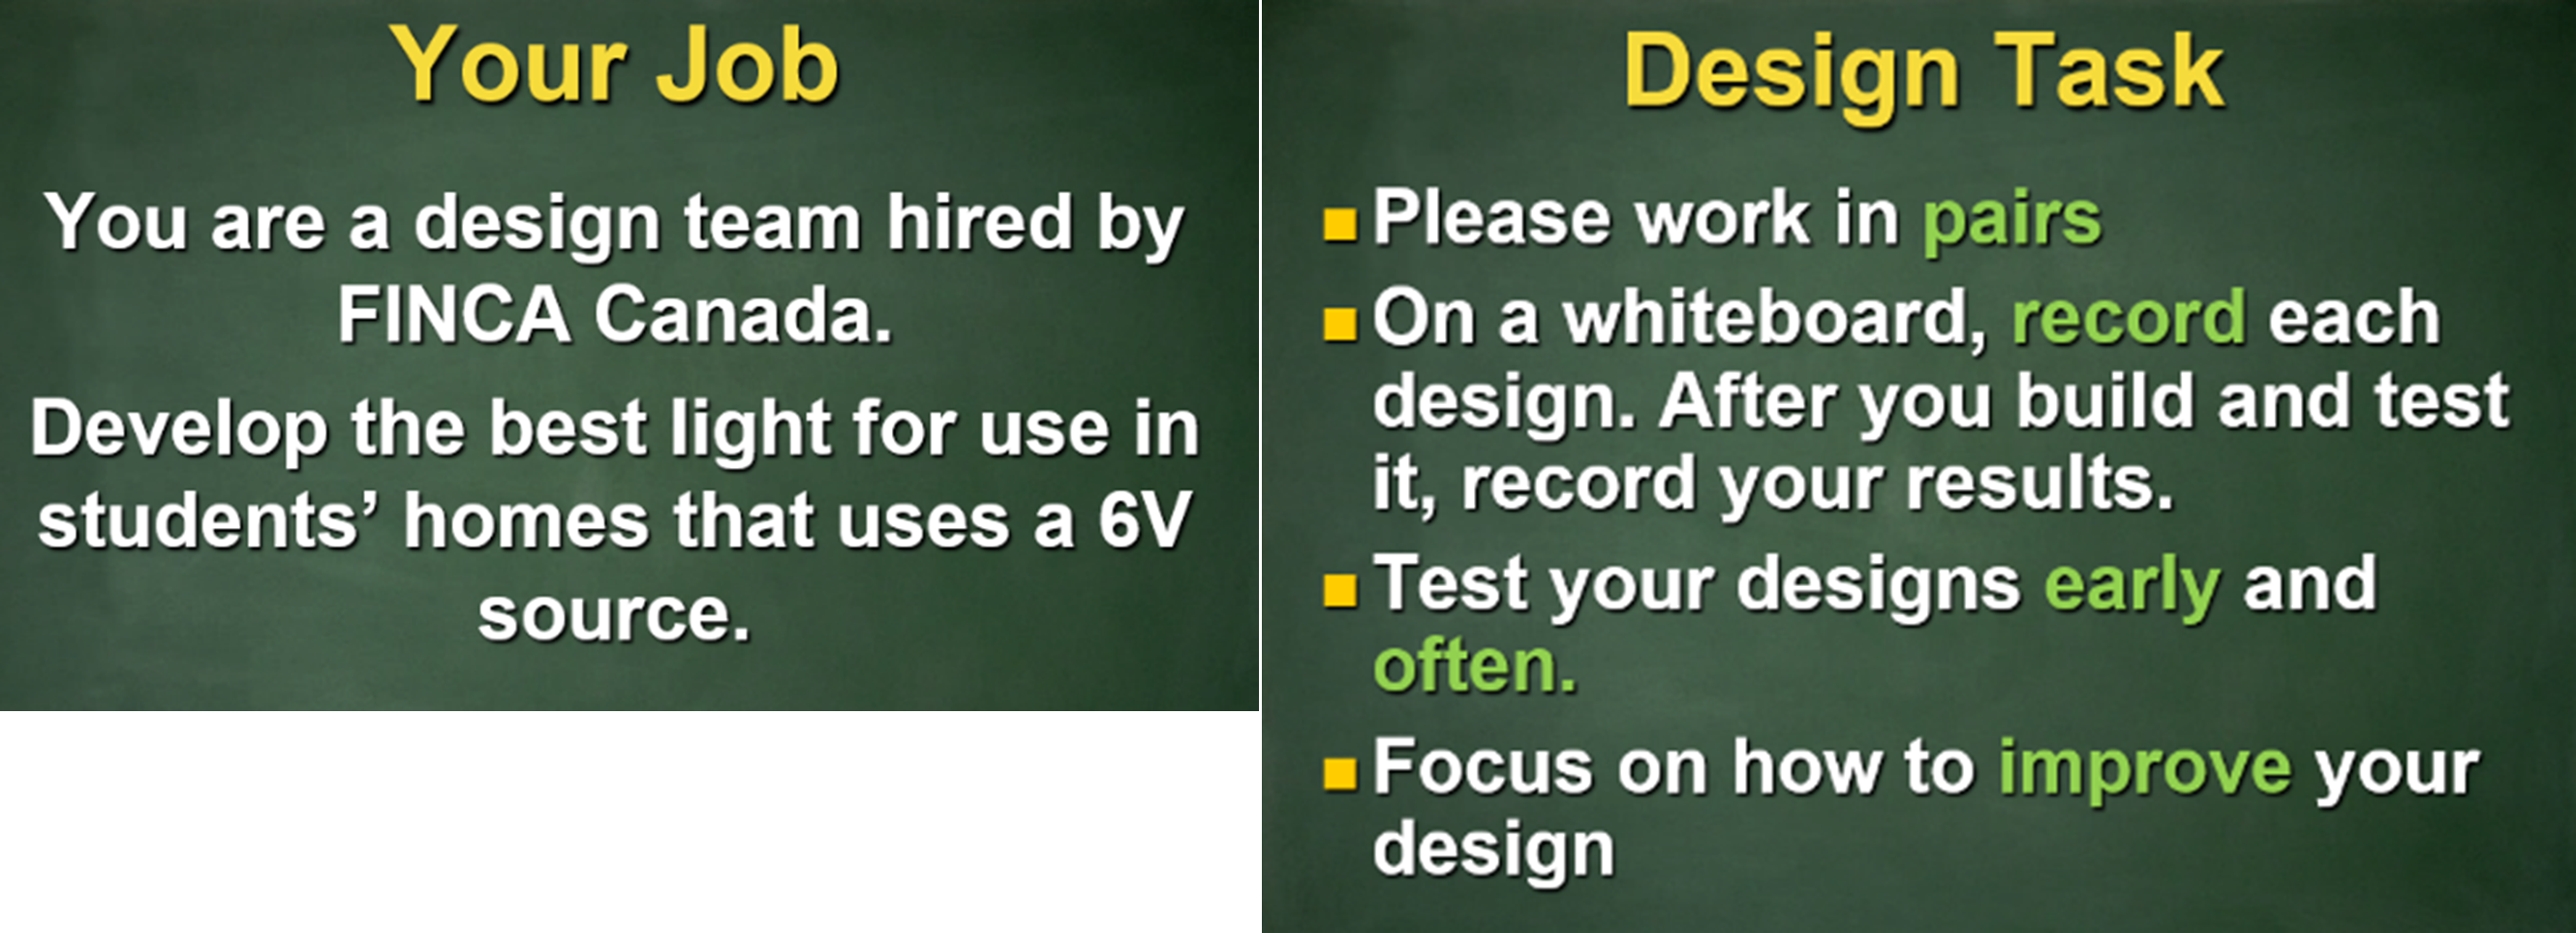
I use a light sensor (a LabQuest probe with built in sensor or a cellphone with a light sensor app) with the light source at a fixed distance to test the results. After a quick introduction, students start to work through design cycles and repeatedly test their light source until we run out of time. A fun ending for the activity could be making the room dark and doing some reading using their invention!
Variations on a design task theme
This electricity design task can be implemented in a variety of ways depending on the learning goal. Here are a few possibilities:
- Goal: An easy introduction to circuits.
Materials: a bulb in a holder, wires with alligator clips, a 6-V lantern battery, aluminum foil, cardboard, tape, etc.
Description: This could be students’ first circuit construction task before they are given any instruction on circuits. The learning goal will be the basics of circuit building. The simple, easy-to-use materials allow students to quickly get a working prototype (their first cycle) and then focus on improving the apparatus, for example building an aluminum-foil reflector around the bulb.
- Goal: A challenging introduction to circuits.
Materials: a single bulb without a holder, wire pieces (no alligator clips), 6-V battery, tape, glue, aluminum foil, etc.
Description: This version is considerably more challenging! The materials do not easily connect to one another. Students will need to do much more exploring of how a bulb, wire, and battery work and connect. This will take considerably more time than the easy version and requires scaffolding or check-ins to help groups that are struggling. The final product of this challenge could be much more slick since the materials are simpler and easier to customize.
- Goal: Introduction to series and parallel circuits.
Materials: Same as the easy introduction but with two bulbs.
Description: Students should start with just one bulb for their first cycle and then switch to two bulbs for the second cycle and figure out the best way to connect them. They will discover that a parallel circuit works best to produce the most light.
- Culminating task: Students use everything they have learned in the electricity unit to design the best possible light source. They will quickly build a parallel circuit and then focus on improving the apparatus: a good reflector, a usable switch, a proper container to hold the circuit, etc.
Depending on the variation and amount of challenge involved, this task could take a single class, two classes in a row, or it could be two or more classes at different points in the unit as students develop their knowledge. The task could take a simple approach to the problem or could challenge students to think about what “the best light” might mean. Take your pick of these variations and you will have a fun and rewarding activity for your students! Links to my resources are at the end of this article.
A chemistry design task?
Can you have design tasks for chemistry? Just ask a chemical engineer! We might want to design a chemical product with certain properties or a chemical process that serves a certain function. The result of the design process doesn't have to be a physical thing: it can be a process or procedure! This is the idea behind the chemistry design task I have created. The student plays the role of a scientist working for a consumer report organization. Their job: develop a test for antacid tablets to determine which is the best. This was a fun and challenging activity for my grade 9s.

The first hurdle was determining the problem to solve! We generated a lot of different ideas for what makes an antacid “the best".
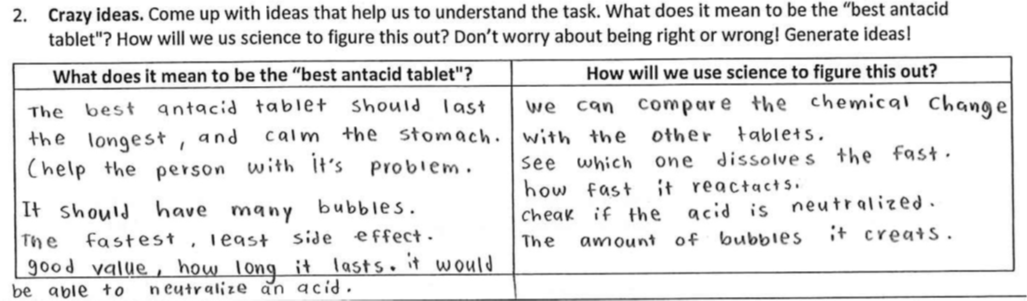
In our first cycle, the class agreed on “the amount of time it bubbles for” as the criterion. An experienced chemist would likely choose something different, but an important part of the design process is often improving and refining the problem itself! So, we quickly did our first test, adding a tablet to a beaker with vinegar and observing. I gave them a 5-minute time limit for their observations after which they had to evaluate what worked well and what didn't.
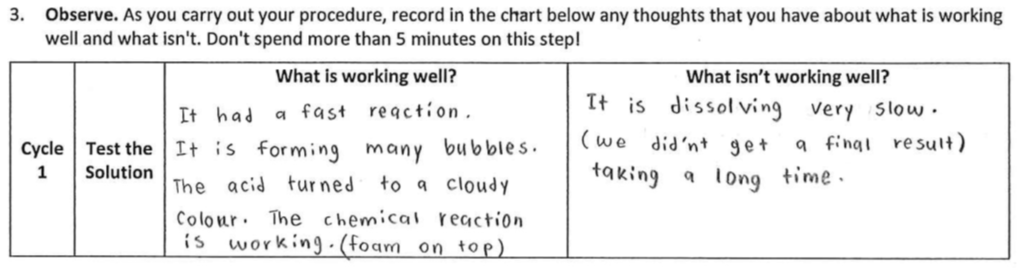
Everyone noticed that the tablet bubbled for a long time! The process was too slow and the criterion inconvenient. While this was a failure of our first test, it was also an important piece of learning. Failure lies at the heart of the design process, which helps us productively learn from failure and find improvements. After a class discussion, we decided for the second cycle to determine the amount of acid the tablet could use up. From the examples of student work, you can see that this task is highly structured due to its complexity. So after the first cycle, we changed the definition of the problem and students changed some of the equipment they were using:
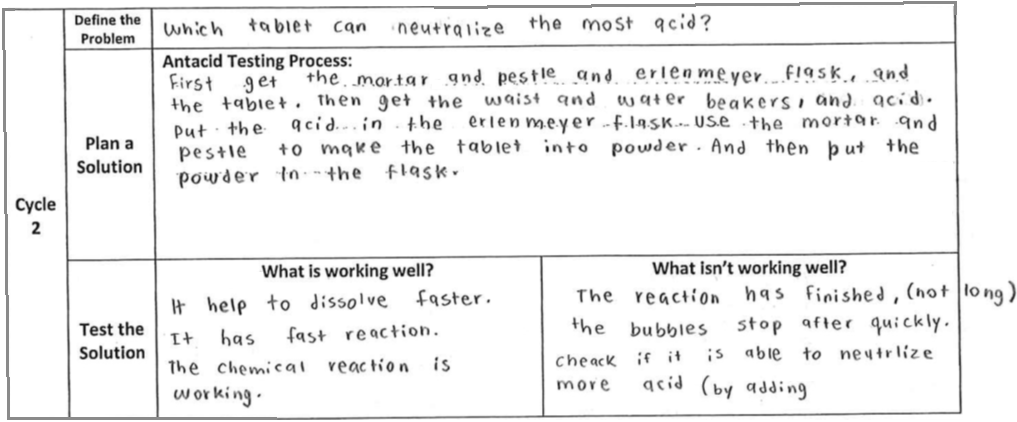
This is progress! Their next improvement was to add the acid in small increments. We completed this activity in two periods. When I designed this task, I knew that the successful testing procedure would look like a very simple, grade-9-level titration. You could streamline an activity like this by providing the definition of the problem, but I wanted my class to wrestle with that definition. Note that we didn't worry at all about explaining the chemistry behind this. My learning goal for students was to explore the chemical properties of a household product and examine chemical change, not to study acid-base reactions. If you are considering developing your own chemistry design task, make sure you are careful what materials students are allowed to explore!
Design process projects
The examples I have shared are all in the form of regular, in-class lessons that happened to have a design task. In my physics classes, we have been doing large-scale design projects for many years. These are rich, complex tasks that provide good examples of design process thinking. One of them involves grade 11 physics content, but the other does not focus on content and could be used in any science class at any grade level (when modified appropriately)! This flexible task was inspired by the design work of this young fellow:
This led to the introduction of “cardboard box inventions” in grade 12 physics. Students were required to identify a problem around home or school that required a cardboard box invention as a solution. They had to establish criteria for the successful testing of their invention and document multiple cycles of planning, construction, testing, and evaluation. It was a fun project and the best taste of engineering I have ever provided my students. Here are their results:
Our grade 11 physics students complete a mid-course project that builds on our first three units of motion, forces, and energy: the “Green Vehicle” project. Students build an elastic band-powered cart using a kit and complete three design process cycles. They even sign-off on their work, just like professional engineers! This is
the kit we used. Using a kit has proven to be much better than when our students made homemade elastic band carts. Instead of focusing on getting something that can barely move, students can focus on multiple iterations and their technical analysis. They get much more out of this version of our project.
Resources for design process activities
Design tasks are quite fun and rewarding for students. They are meaningful tasks that can be quite educational! I encourage you to try one this semester. You can keep it very informal as a quick teaching experiment or try a highly structured task. Here you will find the resources for the tasks I have mentioned. Enjoy!
Tags: Destreamed, Pedagogy
