Roberta Tevlin, Editor, OAPT Newsletter
Roberta.tevlin@tdsb.on.ca
Edited by Tim Langford
Projectile motion often involves a lot of mathematical problem-solving that is overly simplified and highly contrived. Football players do not stop to calculate the range before making a pass. Invading armies might want to make calculations for siege weapons, but these tend to be too complicated (trebuchets) or involve too much energy loss (catapults). Guess and check, was probably the preferred technique. Fortunately there is a cheap and reliable projectile launcher that you can use to show that physics works. Your students will be able to use it to hit a target on their first shot by using calculations for conservation of energy and projectile motion.
How to Make a Projectile Launcher of Minimum Destruction
Find one of those long springs for demonstrating wave motion, preferably one that has been abused and is no longer uniform. Cut this into short springs ranging from 6 cm to 14 cm. Use pliers to bend a loop at one end by 90 o to form a hook that a finger can grab. Then bend a few loops at the other end by 180o so it can be hooked onto a nail at the end of a board.

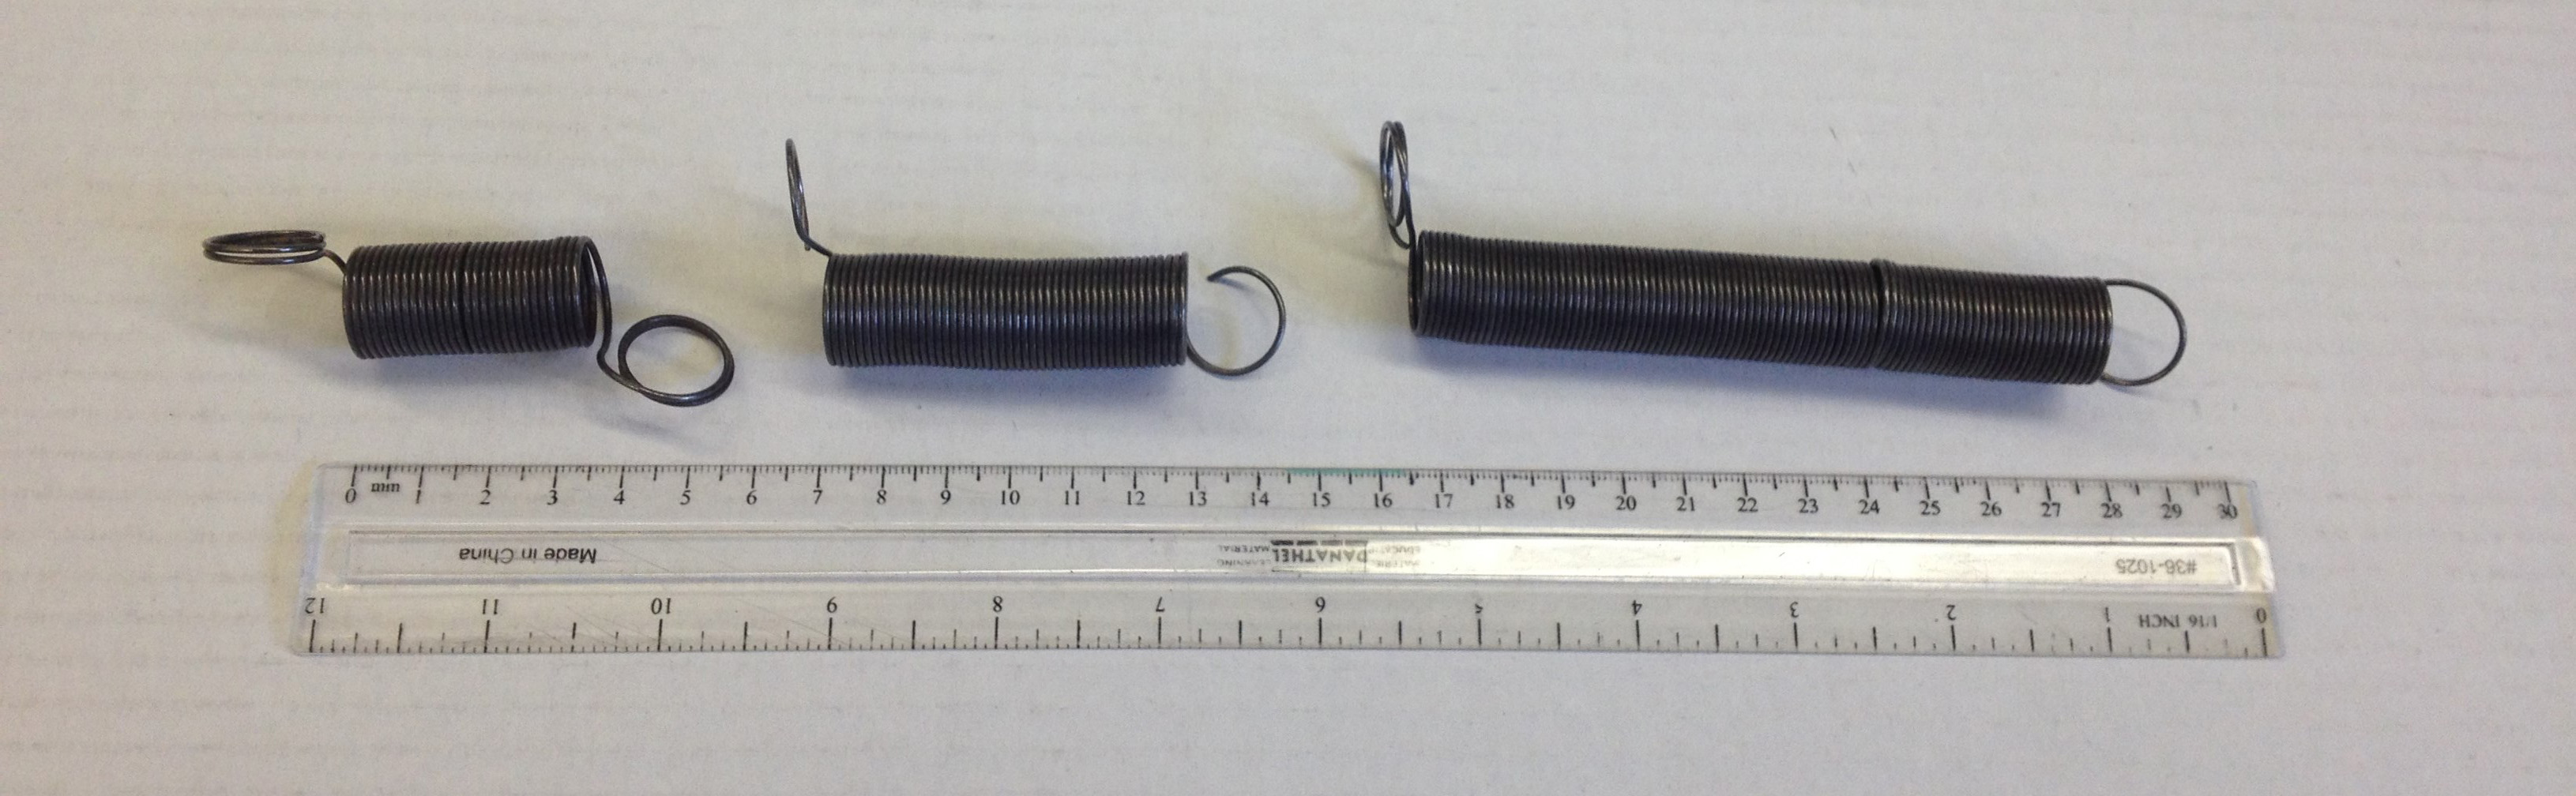 Figure 1: A short, medium and long projectile.
Hammer a nail onto the end of a piece of two-by-four that is about a foot long. The nail should be a finishing nail or else you have to remove the head from a regular nail. (This prevents the spring from catching on the nail when launched.) 
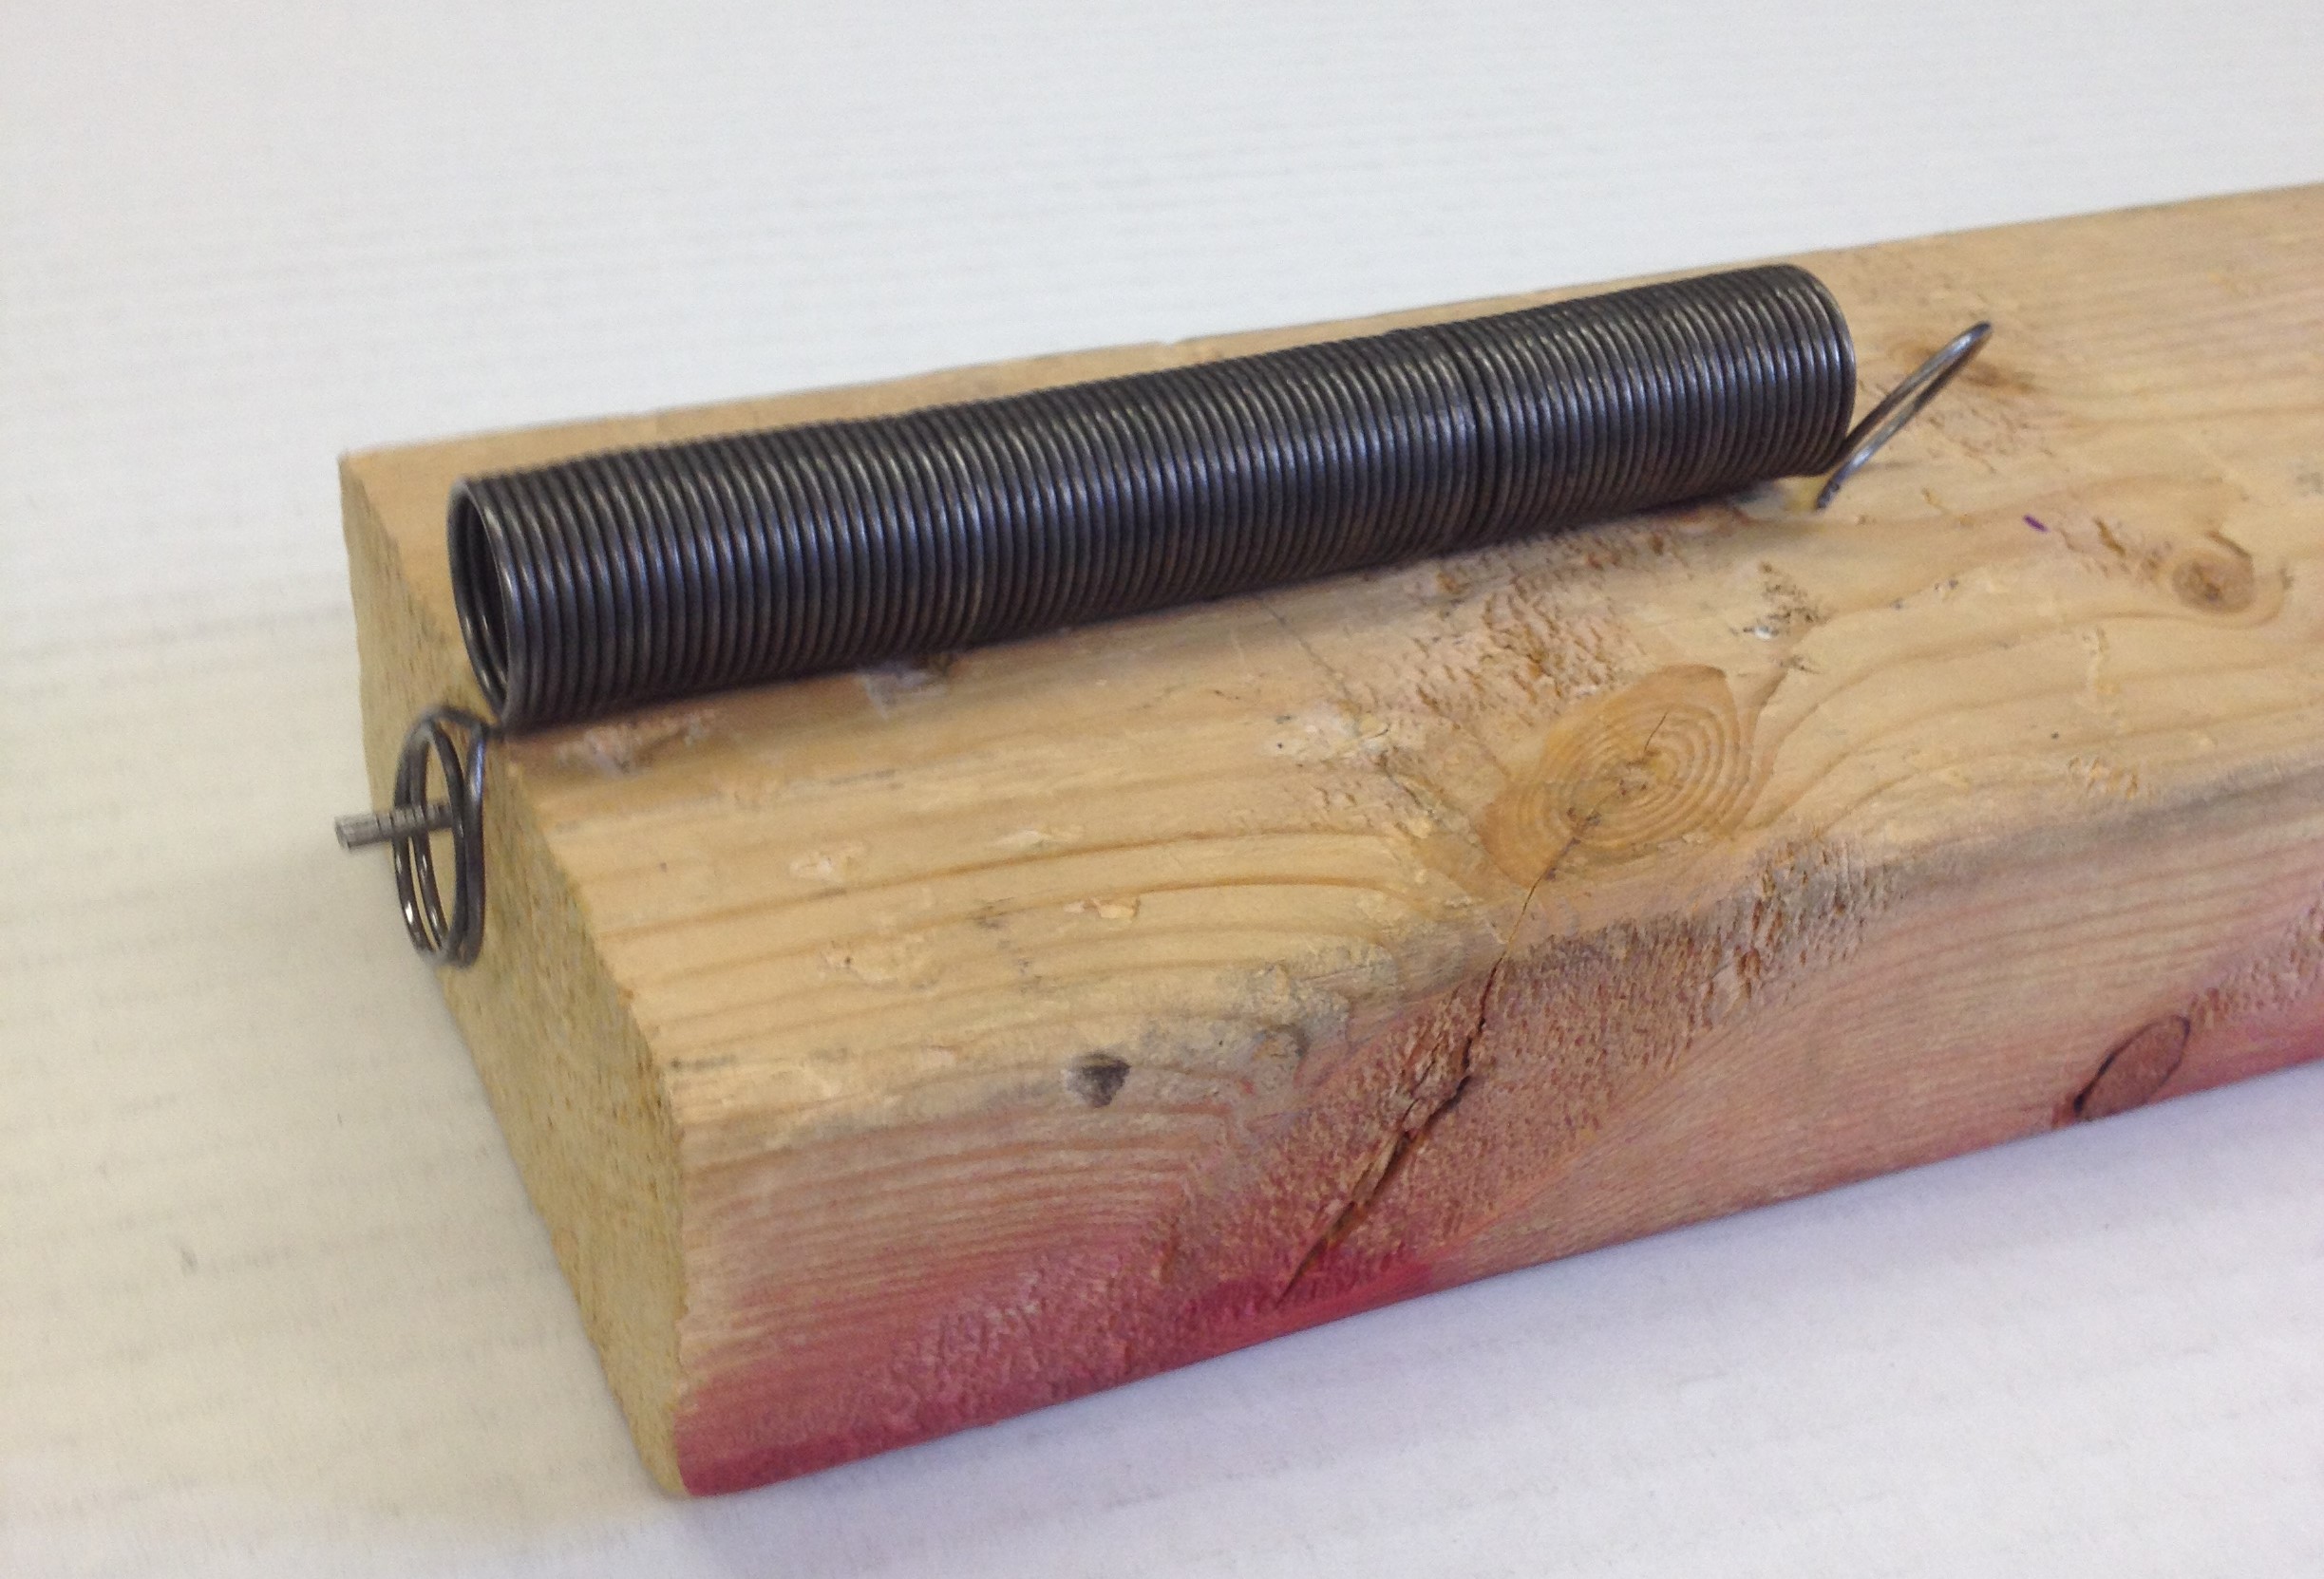 Figure 2: The fully constructed spring and launcher.
Aim the board away from people, stretch the spring, let go, and watch it fly! The spring is a great projectile for two reasons:
- It is very dense, so that air resistance has little effect on it and
- It is very elastic, so that most of the stored elastic energy is converted into kinetic energy.
However, nothing is perfect, and part of the challenge for the students is to adjust their calculated pullback distance to account for the energy losses. The students find that multiplying their calculated values by 1.1 seems to work well.
I have some inflatable minions which make a great target. The group is sufficiently large — about 40 cm in diameter — that a good number of the shots are successful. The minions also make a satisfying thwack! when they are hit. A cardboard box will also work as a target, but it won’t be as amusing.

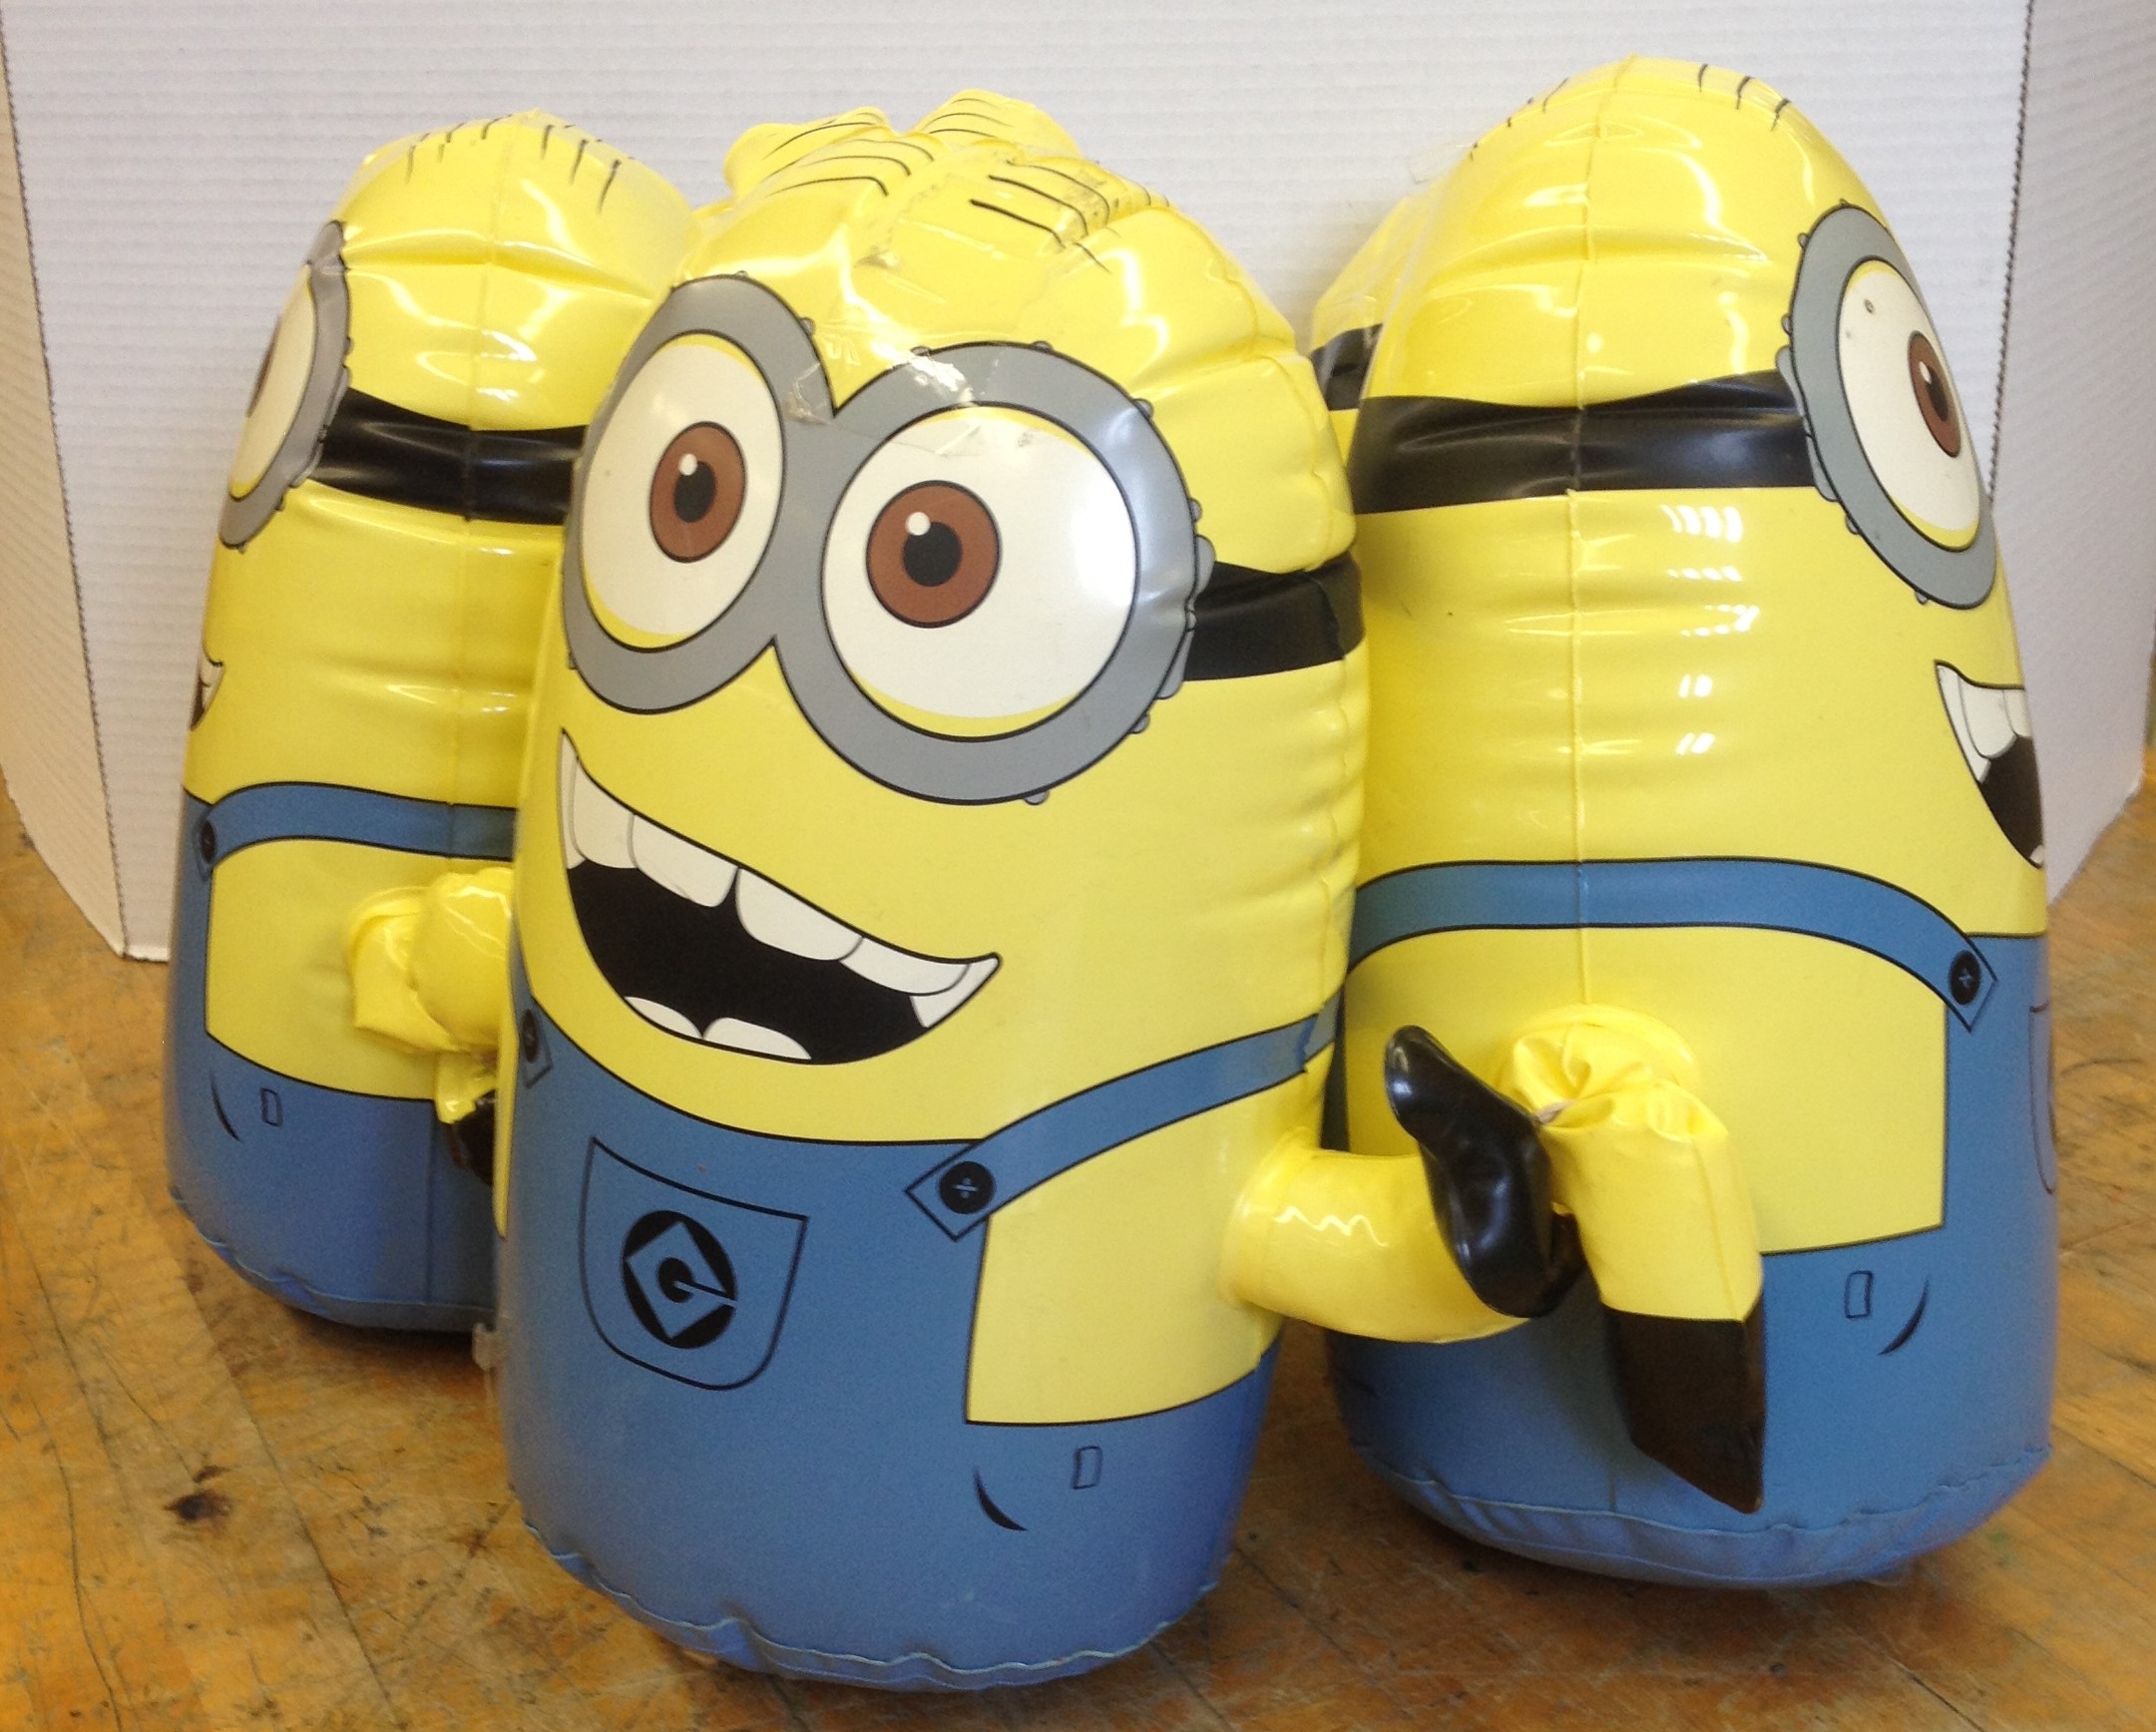 Figure 3: The target.
Building the Challenge Slowly
I have developed a set of six work sheets (with answers!) that can be used for six different one-hour lessons. You can do all six or choose just one or two. (The links to these files are provided at the end of this article.) The first worksheet establishes Hooke’s Law. The second one turns the spring’s potential energy into gravitational energy. I challenge the students to calculate the pullback distance that will shoot the spring to get as close to the ceiling as possible without hitting. The third class has the students calculate how to fire the springs horizontally to hit the minions. This is the simplest version of projectile motion. I stack tables and stools to get the different launch heights.

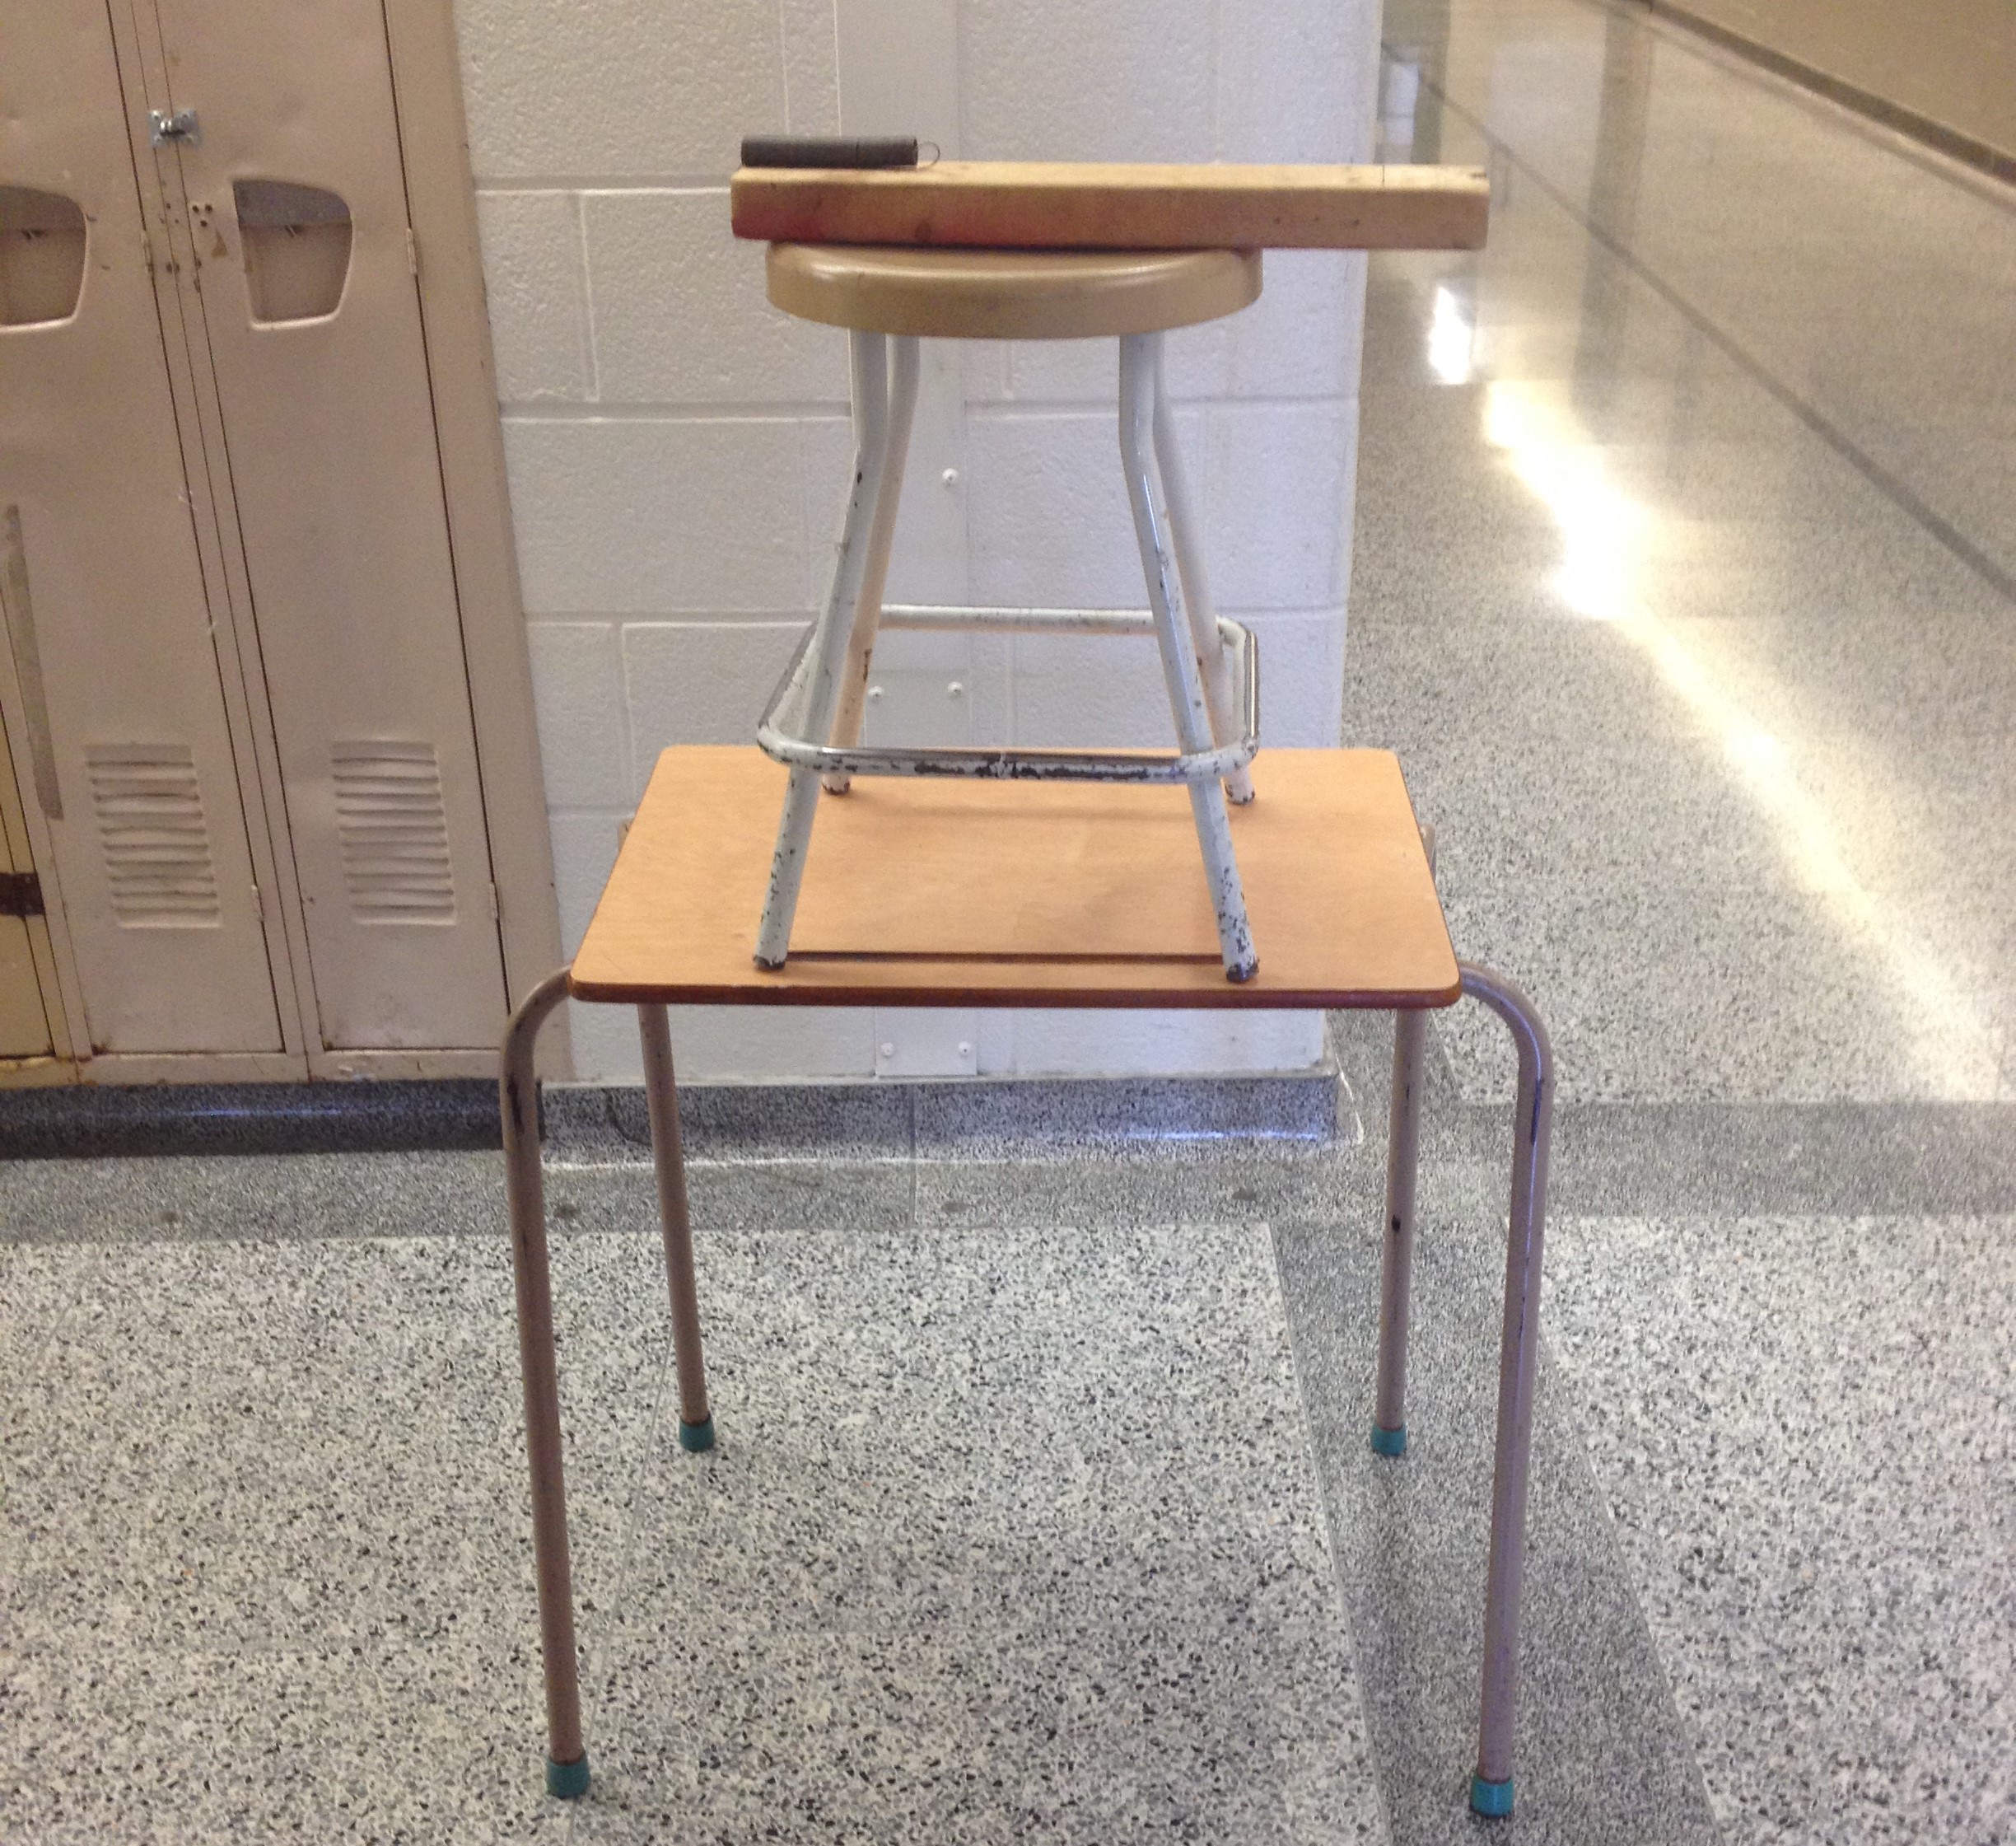 Figure 4: A simple way to vary the height.
The fourth sheet has students fire the spring from the ground at 45°. The minions are about the same height as the launcher, so you can assume that the vertical displacement is zero. I set the launch angle by mounting the board on an adjustable inclined plane. Arbor Scientific has
something similar but it costs $69 US. You could easily put a hinge between two boards and attach a protractor.

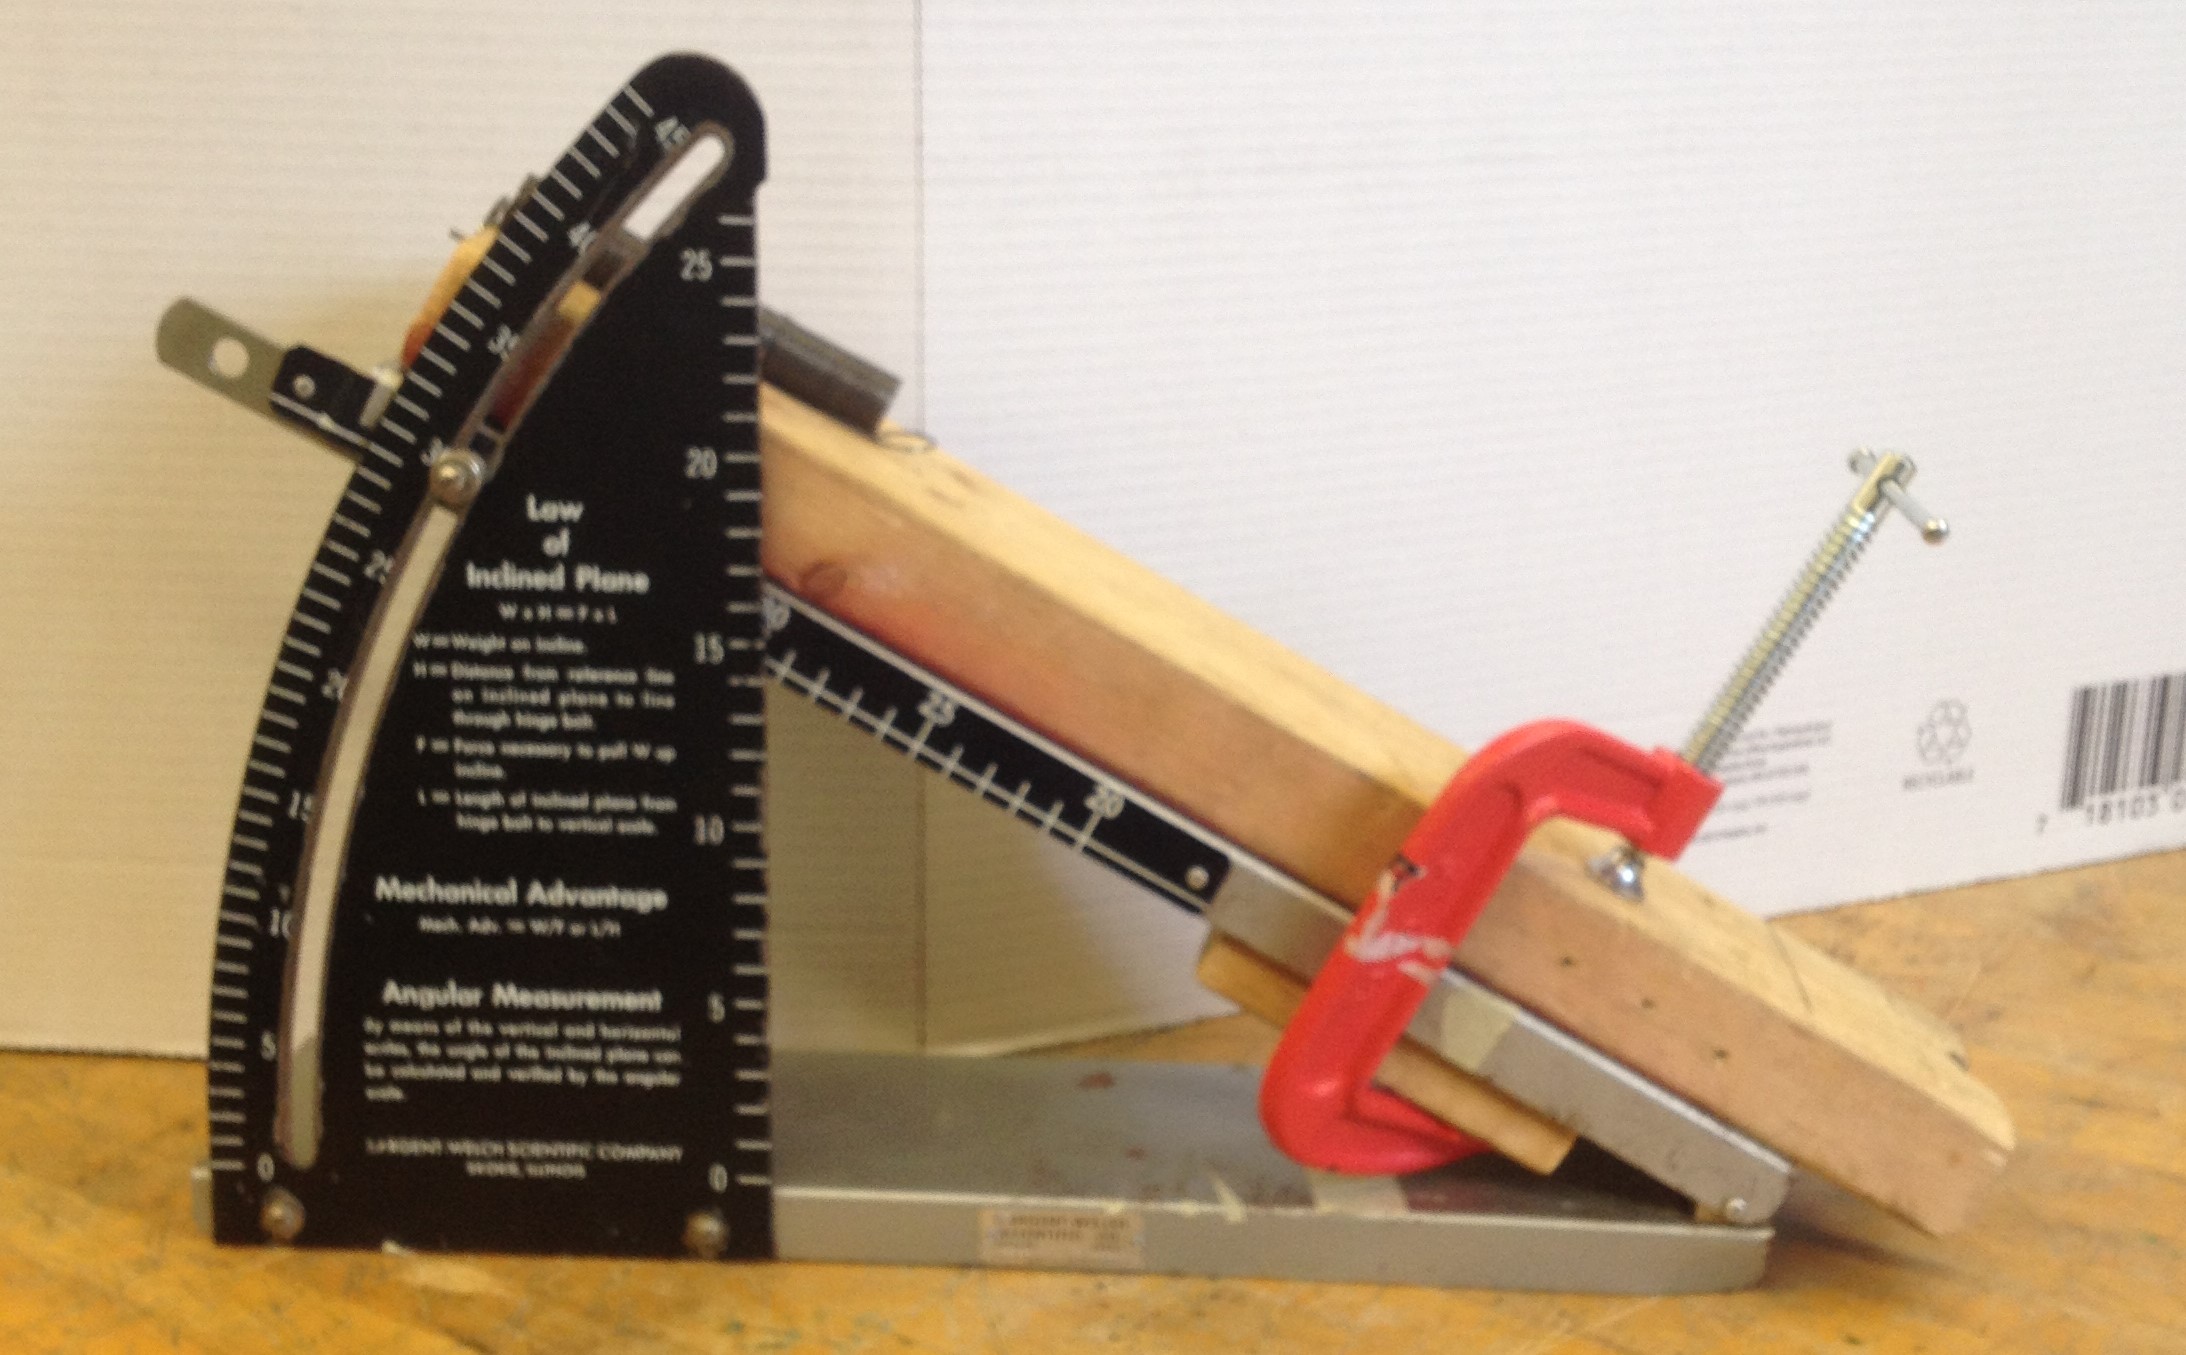 Figure 5: Set-up for an angled launch.
The fifth and a sixth sheets involve more complicated calculations. The spring is shot at angles that are not at 45° and with launch heights that are well-above the ground.
Building the Understanding from Concrete to Abstract
These contests involve lots of math. There are kinematic formulas for constant velocity and constant acceleration and trigonometric equations for components of velocity. Conservation of energy involves equations for kinetic, gravitational and spring potential energy. The students can easily get lost in the abstract math. Therefore the lessons have the students start by examining and discussing the problem without equations. They are asked to sketch the path of the spring, to draw the components of the velocity and to discuss their answers.
After they have a good feel for the concepts, they do a practice calculation where everyone uses the same numbers. This provides a quick check on their math skills. Next, each group does a practice contest where each group makes the necessary measurements and calculations for their particular spring. Then they do a test shot using the pullback distance that they calculated. If they miss the target by a large amount, they have an opportunity to check what they did wrong in their calculations. If they are short by a small amount, they have a good idea of how they must adjust their pullback distance to compensate for the variables that have not been included in the calculation, i.e. air resistance, friction, rotation of the spring etc.
The groups that measure, calculate, communicate and launch carefully are able to hit the target on their first shot almost every time. This provides strong motivation to the rest of the class to improve their work.
Where does Spring Surprise fit into the Curriculum?
These worksheets will fit most easily in 12U physics after Unit B (Dynamics) and C (Energy and Momentum) have been covered or in 12C physics after Unit B (Motion), C (Mechanical Systems) and E (Energy Transformations). The activities can function as a hands-on review and summary of projectile motion and conservation of energy.
The springs could also be used earlier in the grade 12 courses or even in a grade 11 course, if you don’t use spring potential energy. Here are a couple of ideas:
- Projectile Motion: Launch the spring horizontally. Measure the height and horizontal distance travelled and calculate the initial speed. Fire the spring at an angle and measure the range. Calculate the initial speed. These two speeds should be the same if you use the same spring and pullback distance.
- Conservation of Kinetic and Potential Energy: Fire the spring straight up and measure the maximum height reached. Calculate the initial speed. Once again, this speed should match the speeds calculated using projectile motion calculations.
In each example above, you can also check the calculated speed by filming the motion from the side and using a slow-motion camera to measure the distance travelled between two frames.
Credit: I would like to thank Jonathan Orling, who showed me and the other teachers at Einstein Plus*, how you can use these springs as projectiles. He says that he learnt about them from Mr. Seppela in his high school physics class in 1985!
*Einstein Plus is a fantastic one-week summer camp at the Perimeter institute of Theoretical Physics. You can find out more about it here:
https://www.perimeterinstitute.ca/outreach/teachers/programs-and-opportunities/einsteinplusClick here to download worksheets for the six lessons, with answers.
Tags: Energy, Kinematics, Motion, Projectile Motion
