Eric Haller, OCT
rickyhaller@hotmail.com
It’s autumn, and maybe you’re looking for a new way to impress your physics students this semester. I find it easy to amaze my class by using various forms of technology in my lessons. Often our students don’t realize how tech savvy physicists need to be, picturing us using chalkboards to give lectures and not
using supercomputers at CERN or developing
video games which use physics simulations. Ok maybe I’ve never been to CERN or made a video game, but I can make my own GIFs. In this article I’m going to show you some GIFs you can use in your lessons, and also teach you how to make your own GIFs.
Before I go any further, I should probably explain to some of you what GIFs are. GIFs (The Graphics Interchange Format) are computer files which end in .gif, which store a series of low-quality images that play like a video which repeats on a short loop. GIFs are good for showing simple animations, and usually take up very little space on your computer; they don’t even have audio. Here’s an example of a GIF, which is an animation of Newton’s cradle.
 Animation
 ©2006 Dominique Toussaint. Used under a
Attribution-ShareAlike 3.0 Unported license.
If you’re viewing this on a PC you can right click on the above GIF to save it. Click “Save image as…”, and be sure to save it as a ‘GIF Image’. GIF files you have saved can be opened in a few ways, but on a PC you can’t just double-click to open them (you can, but then they open as individual pictures, which you have to cycle through manually). The easiest way to open a GIF is by dragging and dropping it into an open internet browser, or a PowerPoint presentation. If you use PowerPoint during your lessons, then it’s as easy to put a GIF into your presentation as it is any other image, just drag and drop the file onto a slide. You can find GIFs by running a search in google, but I suggest searching for them at
http://giphy.com/.
Now that you know where to find GIFs and know how to show them to your class, you might want to know how to make your own. Here’s one I made myself that hopefully you’ll find amusing (if you don’t understand it then don’t worry, none of my friends did either).

There’s a few ways to make GIFs. Some programs can do it for you, like Maple. If you have Maple, try debugging this line of code:
plots[animate]('plots[implicitplot]', [y = m*x, x = -5 .. 5, y = -5 .. 5, labels = [x, y]], m = -10 .. 10, frames = 21);Right click on the plot it makes and save it if you want by selecting ‘Export’, and then selecting ‘Graphics Interchange Format’. It should look like this when you’re done.

That can get a little complicated though; it’s probably easier to make GIFs just by taking some images and uploading them to a website that makes GIFs for you. Try this by saving these four images to your desktop.


After you have saved those four images, go to
http://ezgif.com/ and click ‘GIF Maker’, then upload the images. After you’ve uploaded them, you get to choose the delay time between frames (in hundredths of a second), after which you can click ‘Animate’, and get something that looks like this.

Making the images that you want to turn into GIFs is the hardest part. You can use expensive photo editing programs like Adobe Photoshop, but I prefer using Microsoft Paint and the Snipping Tool (both come already installed for you on any Windows device). Some people have burst GIFs they’ve found online into separate images, and then used Paint to draw in funny faces, and then turned them back into GIFs. Check out this link for some funny examples of how you can add faces or other things into GIFs,
http://blazepress.com/2015/08/hilarious-gifs-that-prove-adding-faces-to-things-makes-anything-funny/. Yet another way to get images is by uploading a video. Use your phone to shoot a video, and then go back to
http://ezgif.com/ and this time click ‘Video to GIF’. Upload your video and it should make a GIF of it for you, at about the same playback speed as the original (with fewer frames per second, lower image quality, and no audio). Here’s a gif I made by recording a video of the animation in the browser based ‘Newtonian Gravity Simulator’ from
another OAPT article published earlier this month.

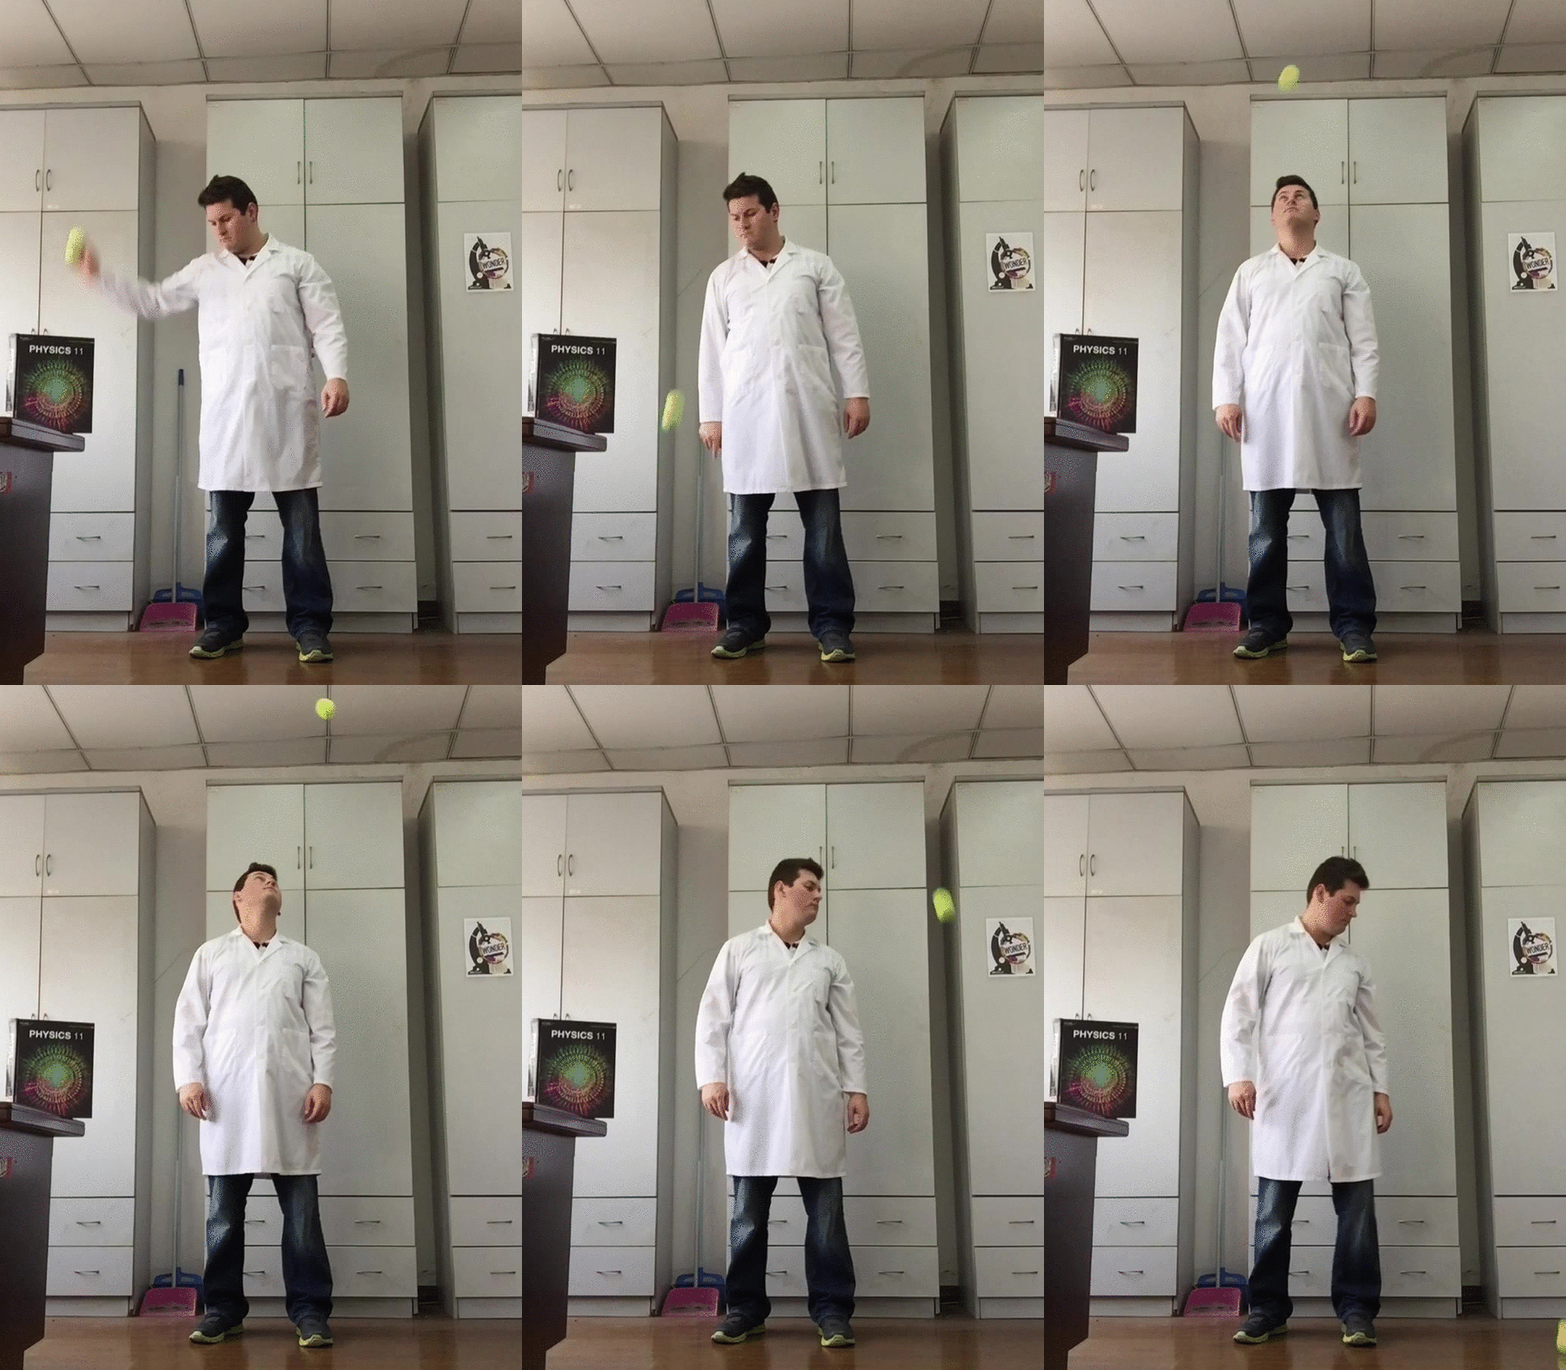
Here’s a GIF I made of myself by using a video recorded on my iPhone (incorporating yourself into the actual GIF is the best way to prove to students you know what you’re doing).

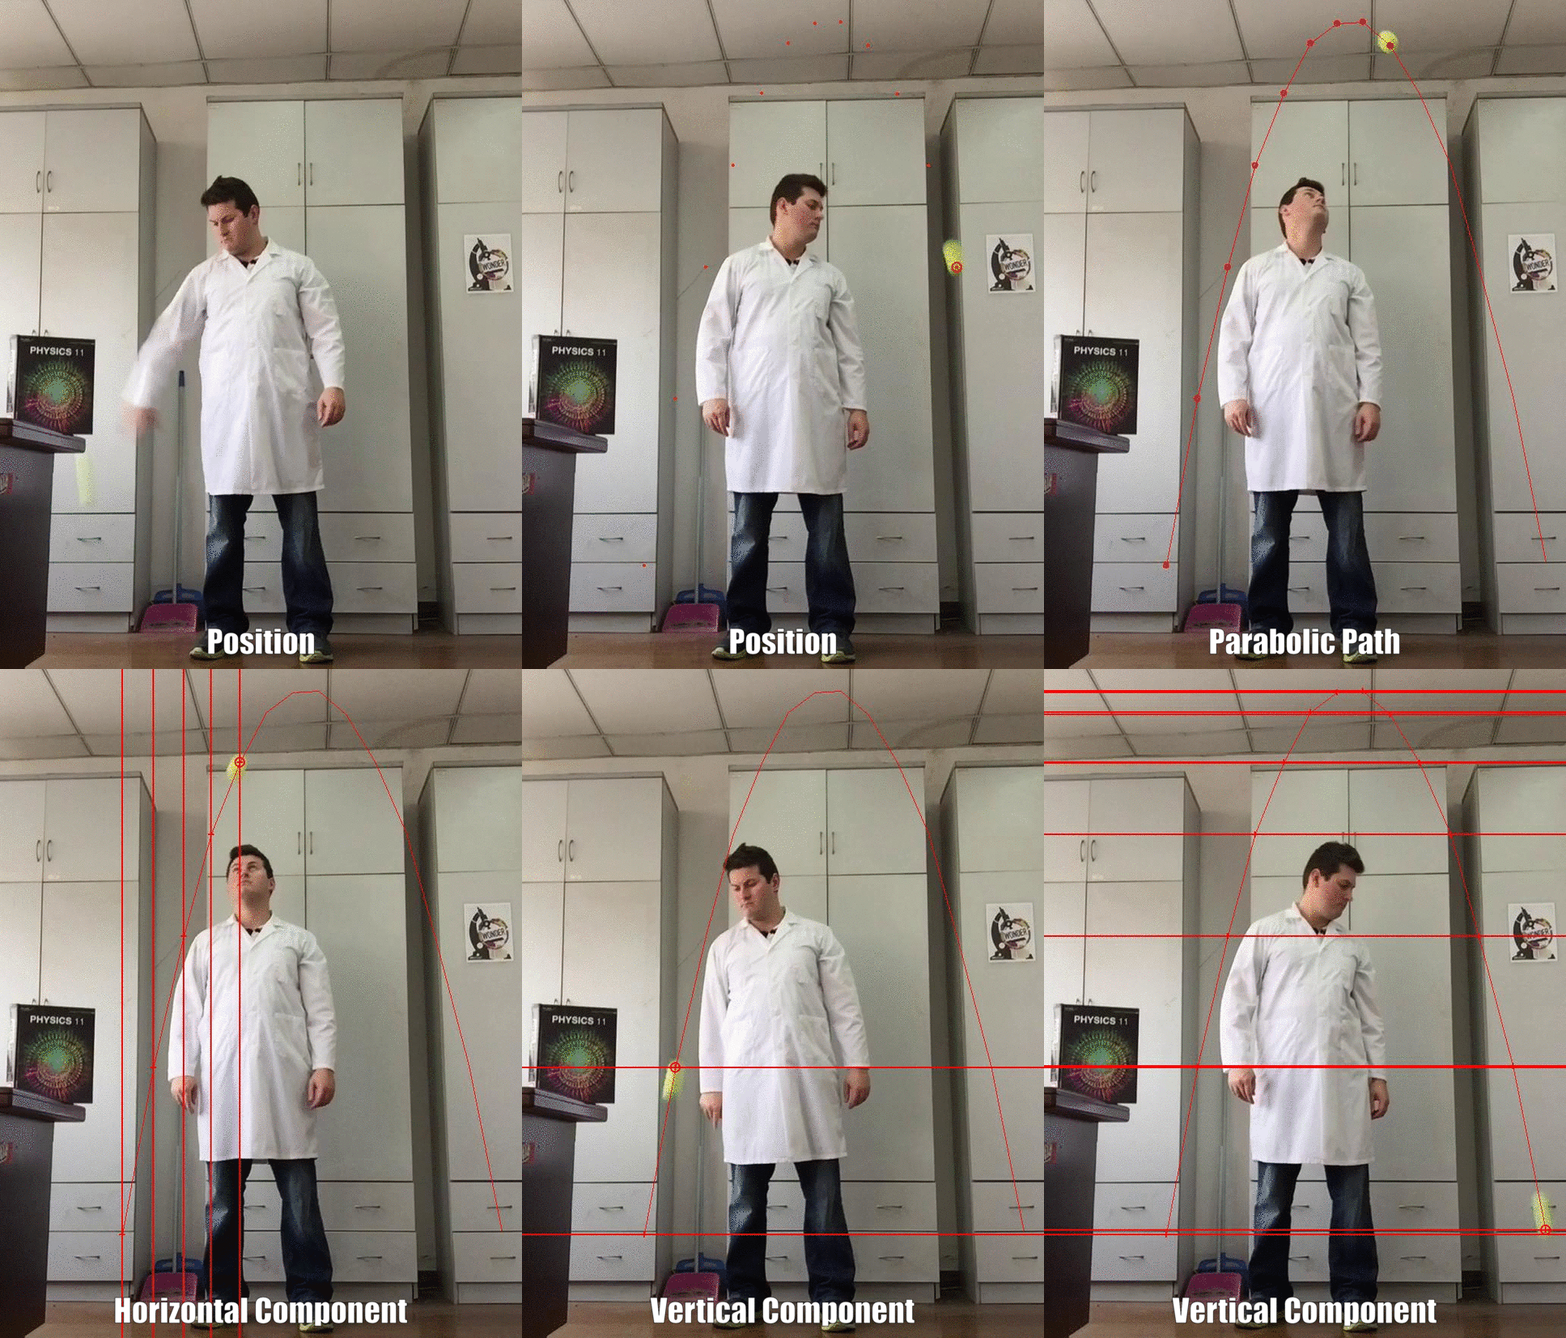
Now if you want to actually show the mathematics behind the physics, try importing your video first into some kind of object tracking software like Video Physics or Tracker (the latter of which is available free at
http://physlets.org/tracker/). After using tracking software and maybe Paint again, you can make GIFs that look like this.

You could get your students to make GIFs of some physical phenomenon as an assignment, or as a contest if you want. They can even be shared on Facebook or as stickers in messaging apps like WeChat (iMessage doesn’t do GIFs). You can’t print out GIFs, but you can print out any time collapsed photos you make out of GIFs (I made one using Paint) and put them on assignments or tests. Click
here to download the investigation that went with the GIF above, and click
here to download my solutions to it if you’re interested.
Good luck using some new technology in your classes this year!
Tags: Motion, Projectile Motion, Technology


