Margaret Scora, OAPT Past President,
mscora@sympatico.ca
Roberta Tevlin, Editor OAPT Newsletter, teacher Danforth CTI
roberta@tevlin.ca
Mari-Ann Goettsch, teacher at Georgetown DHS
goettschm@hdsb.ca
Over the past couple of decades there has been a dramatic decline in students’ abilities to build and solve hands-on challenges. They are well versed in virtual reality but they don’t have much experience in how to work with materials. This is a shame. They are at a disadvantage when learning physics concepts and they will have huge problems with large projects like trebuchets or Rube-Goldberg machines. In this article we will describe a number of very short hands-on projects that provide opportunities to build stuff using cheap materials.
This article and our up-coming workshop at the
2019 OAPT Conference was inspired by the challenges we experienced teaching the grade 12 college level course.
Roberta taught the course for the first time this year and was surprised by the lack of hands-on skills. They had no more skills than the academic students and they had much less confidence. They didn’t want to look foolish, so many of them just wouldn’t participate in these activities — at least at first.
Mari-Ann had previously taught the 4C course in a more traditional way but changed her delivery this year to a competition-based, hands-on style. Many students who would have likely done “okay” in a traditional classroom thrived in this new situation, while many of those who would have been completely disengaged before, actually enjoyed and participated in the activities regularly. Her biggest challenge was getting the second group to complete the paperwork associate with each lesson. Furthermore, many of the students had to learn how to work well in a group. This took a bit of work.
Margaret has had many years teaching 12C physics and found that most of the students didn’t care at the start, but that once they got into it, they encouraged each other and helped each other more than her 3U students did. The 3U students were often too worried about marks and needed the competitive aspect dialed back. She provided checklists for this group, so that they could see that they were earning marks for more than just which device on. In contrast, the college class wasn’t motivated by marks, so the activities needed to be intrinsically enjoyable.
Three principles that help alter projects so that they work well with a 12C class are the following:
- Make it Easy: Provide simple examples to follow or enough direct instruction to get them started. College level students have a much lower tolerance for frustration and would rather do nothing than look like they failed. The activities at the start of the course may need to be especially easy.
- Don’t Make it Too Easy: Don’t bore them with too much instruction. They don’t want to read or listen to you go on and on. It is much more fun to figure things out themselves. However, there is a huge range of abilities the college level course, so you need to monitor each group and provide more instruction to those that are struggling.
- Make it Fun: The students will be more motivated if you turn an ‘experiment’ into a friendly competition. However, you need to make sure that everyone is able to get some success and that there are extra challenges for the groups that finish early. The amount of independent problem-solving can be gently increased later in the course as they gain more confidence and comfort in figuring things out themselves.
What follows are short descriptions of activities, how they are modified for 12C classes, and where they fit into the 12C course. Most of them can be easily modified and used in classes from grade 7-12.
Unit A: Scientific Investigation Skills: The Hovercraft Contest
This activity requires that each team hot-glue a one-hole rubber stopper to a CD. A balloon is placed over the stopper and inflated. To inflate the balloon while it is attached to the hovercraft base, you can use a vacuum cleaner run backwards or you can place a straw in the hole and blow it up by mouth. You don’t want to lose air after inflating the balloons so you need to cover the hole with your finger. If you have the materials, you can replace the rubber stopper with the pull-tops on bottles of dish detergent or Sunny D drinks and that will control the flow.
The challenge is to have these hovercrafts slide down a board and along the floor for the greatest distance. Old batteries can be attached to the base, to add weight. You give the students a broom to use as if they were curling. It has almost no effect — but it makes things more entertaining.

 
Figure 1: hovermaterials
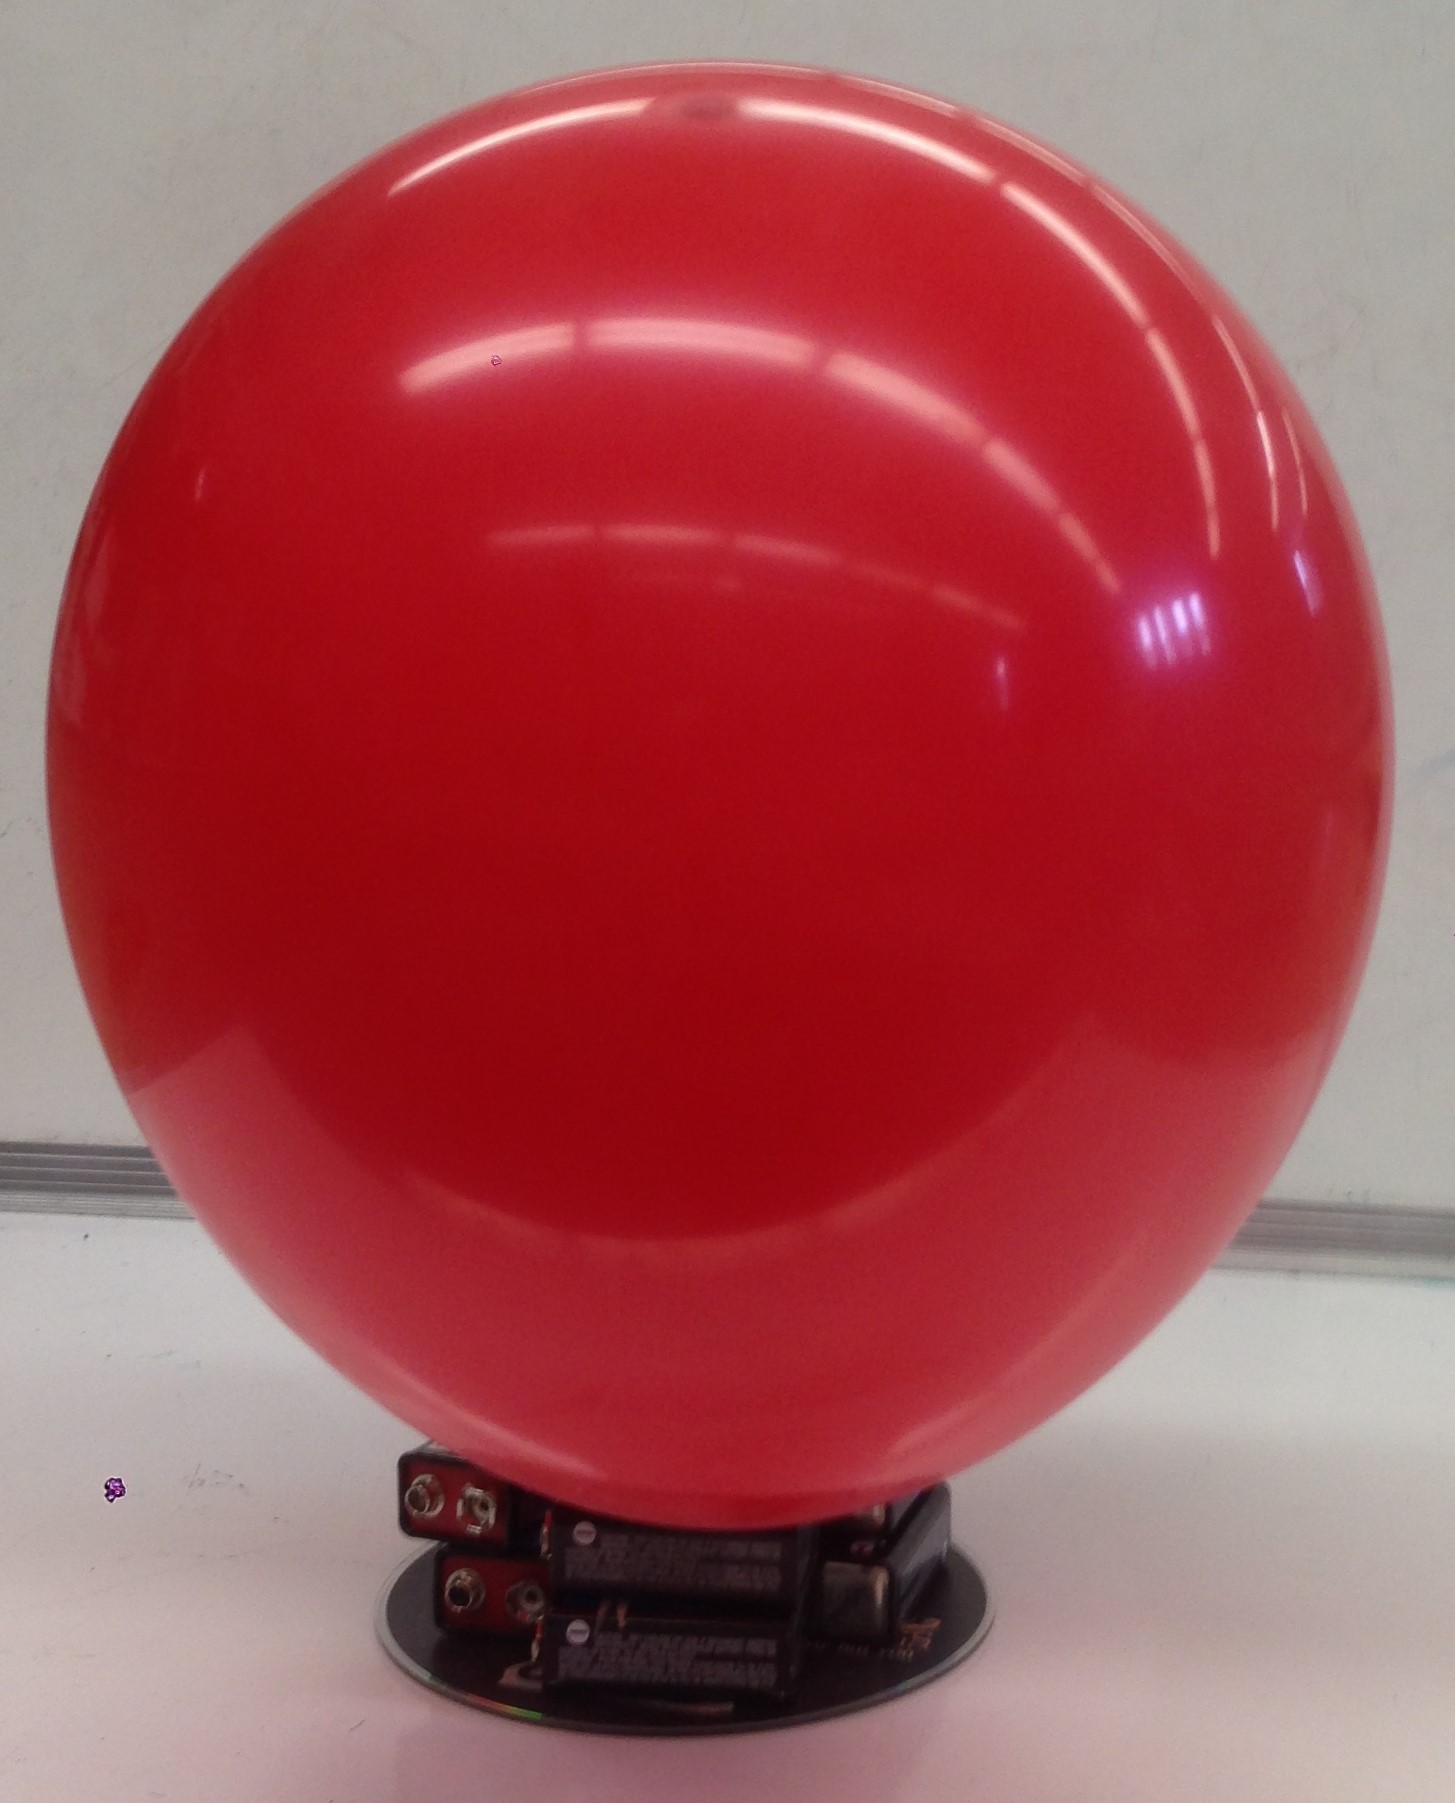 Figure 2: Hovercraft
This contest is non-threatening because they can run their hovercrafts as many times as they like and because at the start it looks as if the results are random and have nothing to do with skill or thought. However, after a while some of them start going really far. (A 1 m drop can send one of these 40 m along the floor!) The students play with adding different amounts of mass and different placements. They vary the size of the balloon and they can put one balloon inside another to make it twice as thick. They are doing experiments
— but they are much more enthusiastic than if they had to follow detailed instructions. After this activity, you can talk about what techniques work and why and this can lead into a more general discussion about experimental design and controlling variables.
This activity can take just 15 minutes or the whole class. It also can be expanded into a 10-class unit described
here.
Unit B: Motion and Its Applications: The Ducky Drop
For this activity, each group is provided with a large garbage bag, light string and a rubber ducky. The students are challenged to make a parachute for the duck that will have it fall as slowly as possible in a stairwell. 
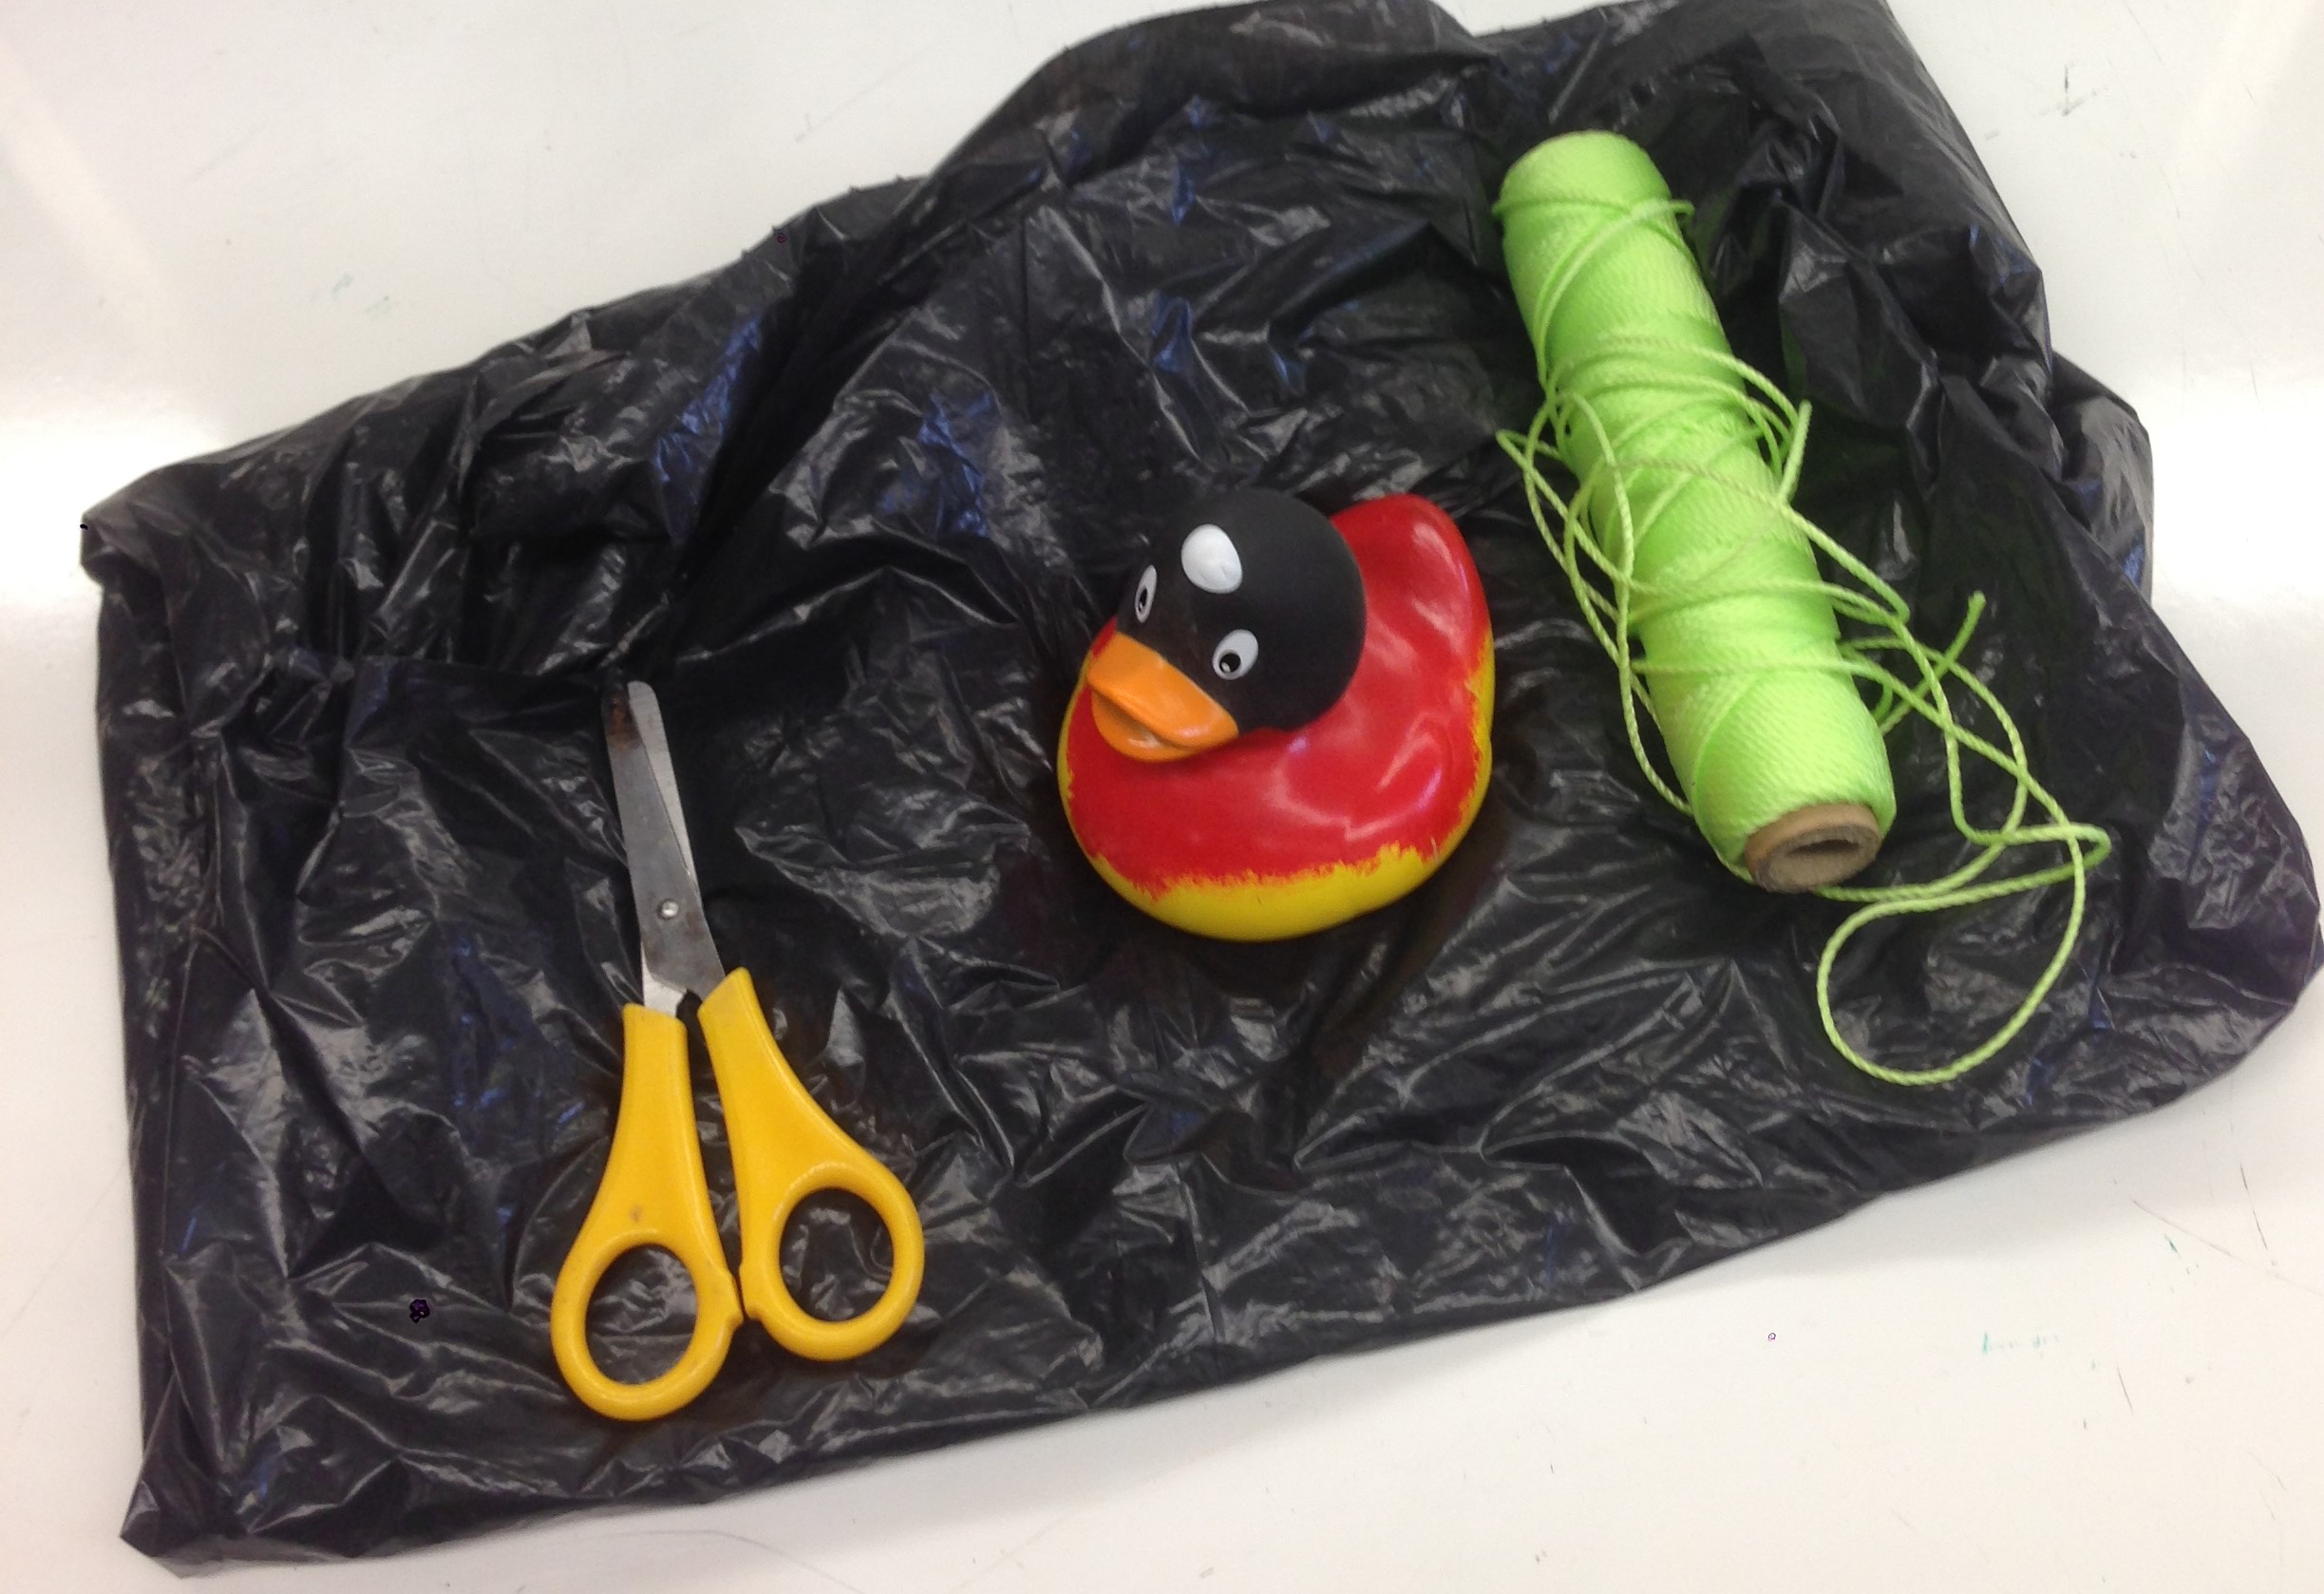 Figure 3: Parachute materials
Roberta was surprised that most of her students did not realize that bigger is better. Only one group used the whole garbage bag opened out to get the largest area and only one worked well. The results would have been better if they had done a ‘predict, observe and explain’ exercise involving the descent of balloons that were inflated to different sizes before doing this activity. Mari-Ann’s group used alligators rather than duckies and had the students consider how they would attach their “parachute harness”. This led to a good discussion of why parachutists require to be harnessed at multiple locations on their body in order to reduce the pressure of the harness and parachute.
Unit C: Mechanical Systems: K’Nex Catapaults
Margaret provided a full description about this project
here.
Unit C: Mechanical Systems: Mobiles
Each group is provided with wooden dowels, binder clips, string and small toys or decorative objects to make a mobile. The timing of this activity worked out well for Mari-Ann. It was near Halloween and they used candy as the objects, which the students got to eat afterward. The binder clips make it much easier for the students to shift the fulcrum and to keep the fulcrum in place once they have found the right spot.

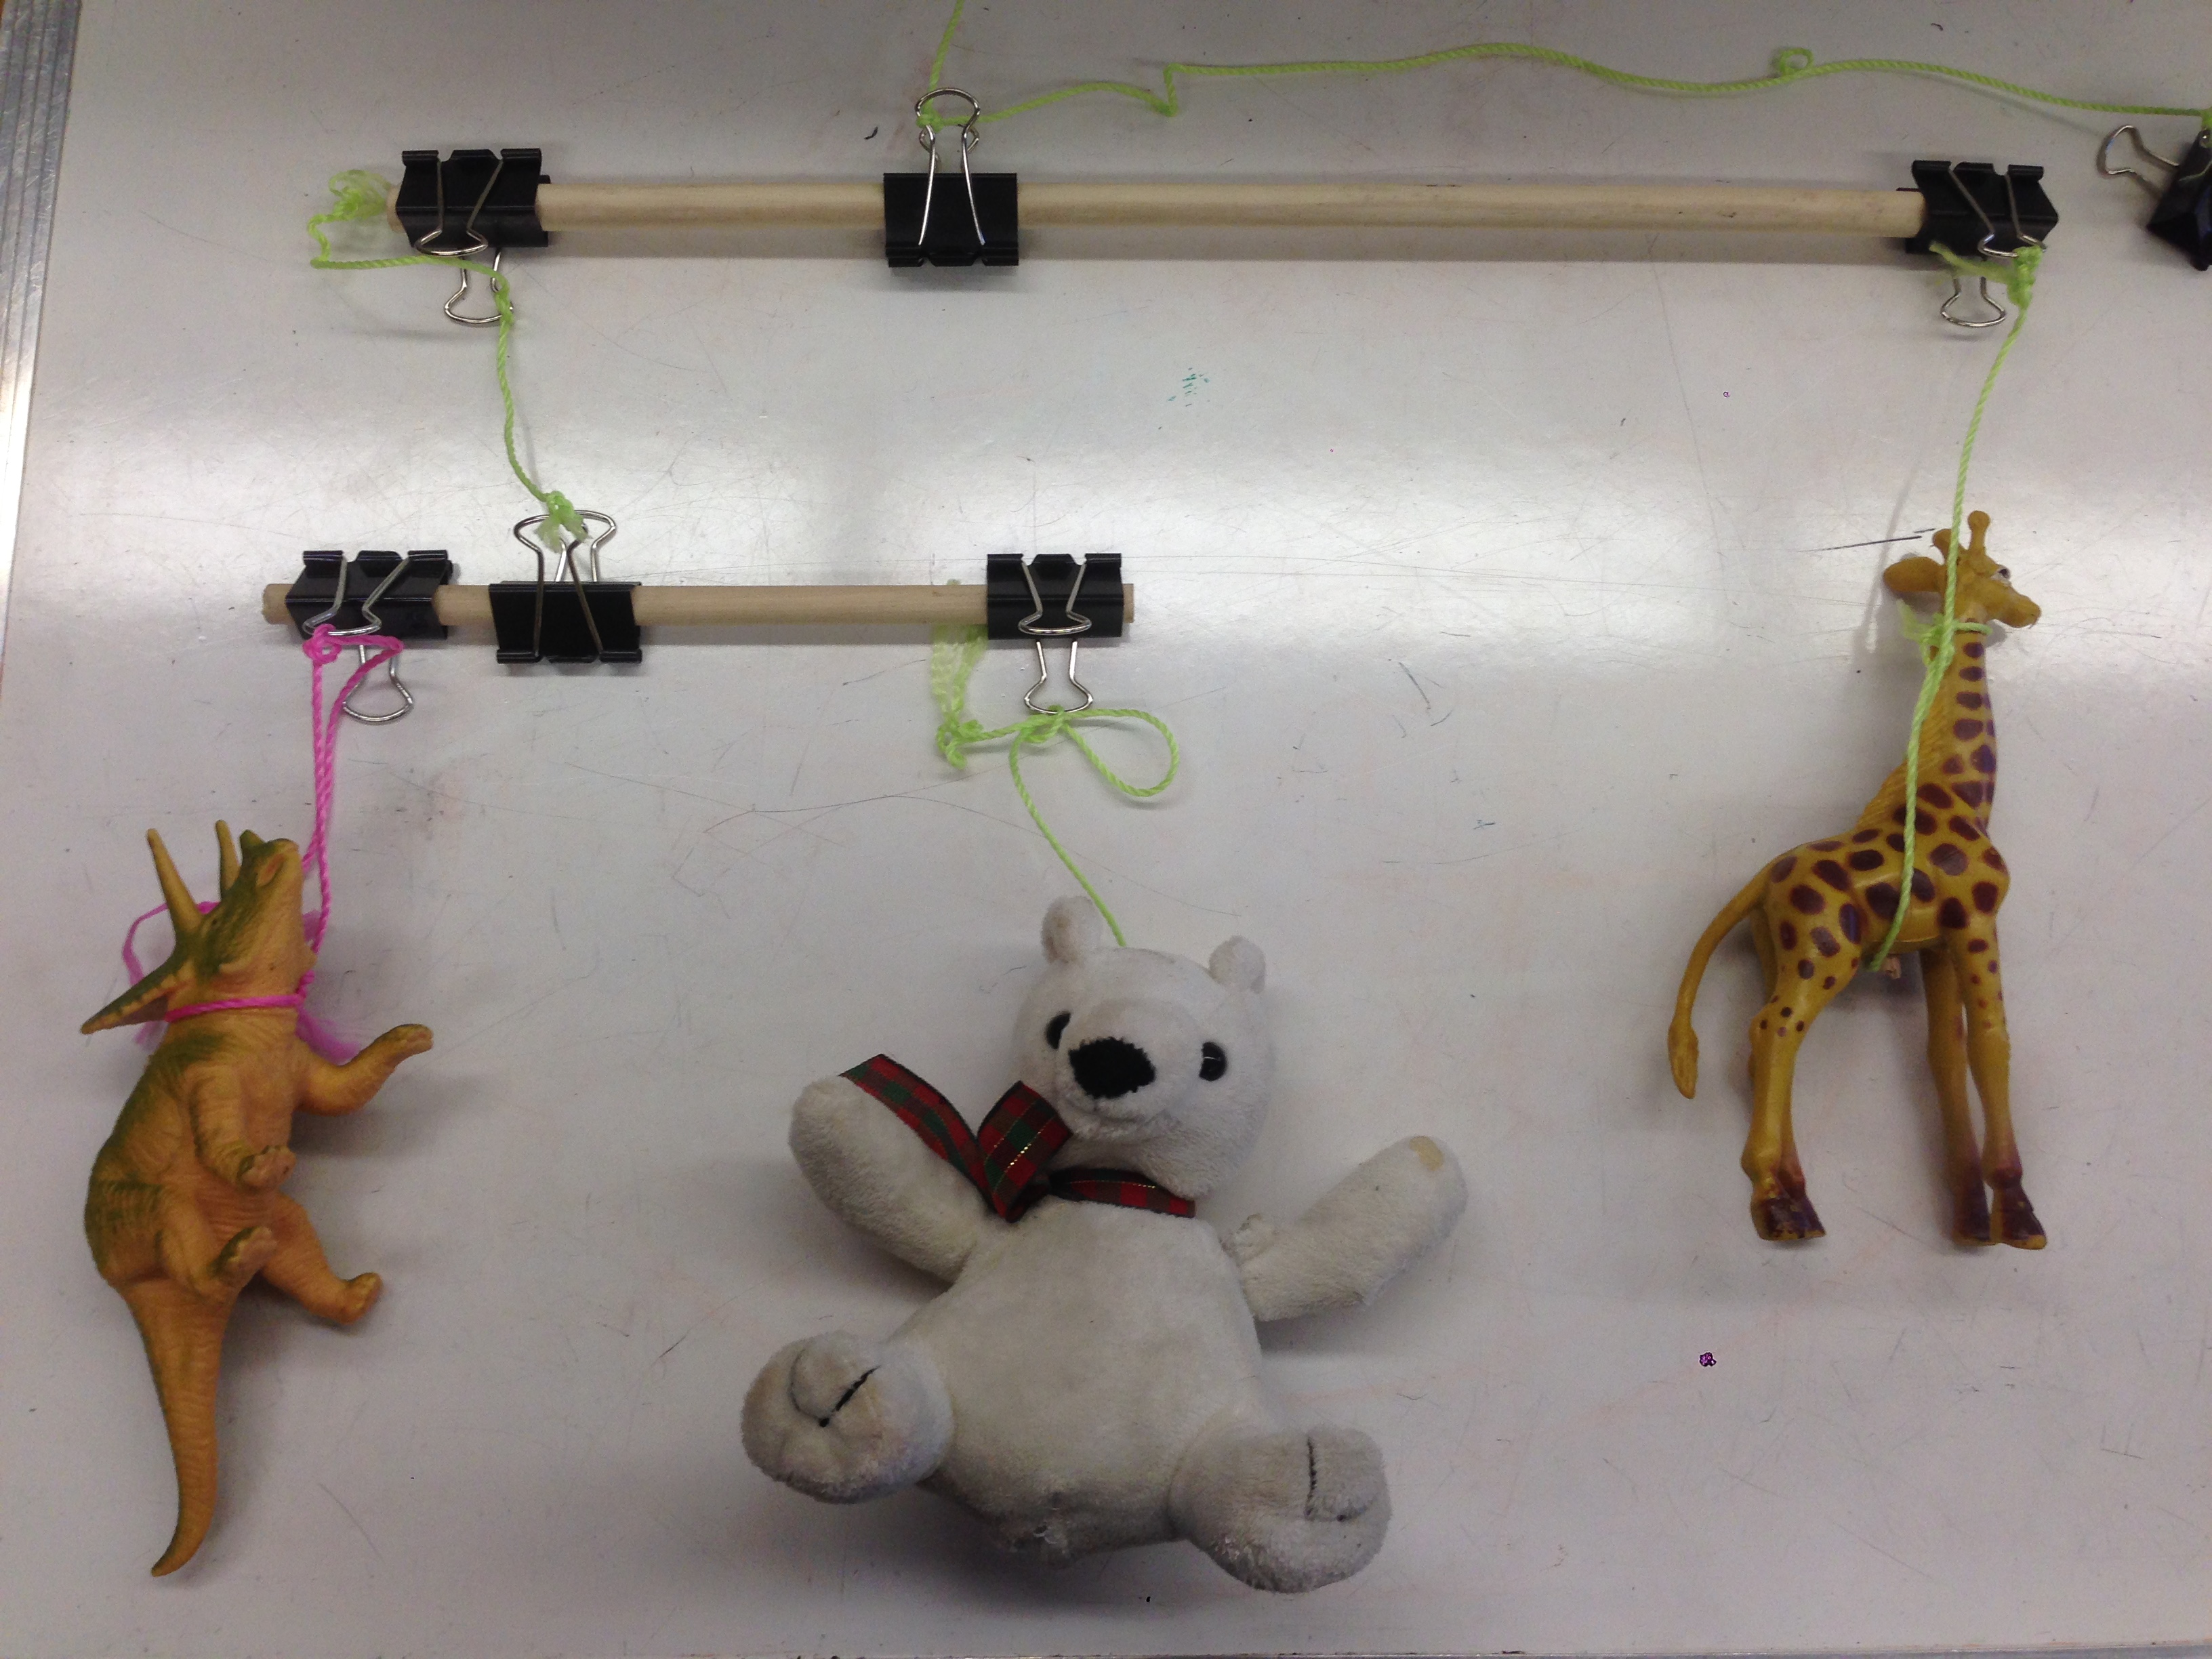 Figure 4: Mobile materials
Roberta found that the students needed to see a working example before they could proceed. The example above shows a two-level version that could be used for this. Their challenge is to make one that has three or four levels. If you leave the mobiles up, you can refer to them when you look at other simple machines, as examples of trading force for distance.
Unit D: Electricity and Magnetism: Potato Batteries
There are many different materials you can use to make batteries. Potatoes make a great electrolyte. The flesh of a potato holds the electrodes more firmly than fruit and it does not give rise to lots of sticky juice. These batteries are more visible than ones made with coins and paper soaked in salt water. The electrodes can be made of everyday objects like nails and paper clips augmented with more obscure scientific supplies like magnesium strips. This project is broken into chunks to provide early and frequent markers of success. Each group is provided with a mini-potato or piece of potato, a variety of metals, alligator clips and a voltmeter. The first challenge is to determine which two materials will make a cell with the highest voltage. The next challenge is to make a second cell and then attach the two cells together to get the largest voltage. Roberta’s students found this second step quite difficult. To help them figure it out, she showed them two D cells and had them remember what they had to do to join these to get a high voltage. The next challenges are three cells, four cells etc. The final challenge is to get a red LED to light. This might require having two or more groups cooperate and join their cells together.
Unit D: Electricity and Magnetism: Homopolar Motors
There are many different methods of making motors but the simplest is the homopolar motor. Each group needs a paper clip, a strong neodymium magnet and an AA battery. When the paper clip contacts the magnet at the top and the battery at the bottom, a current flows and the wire spins.
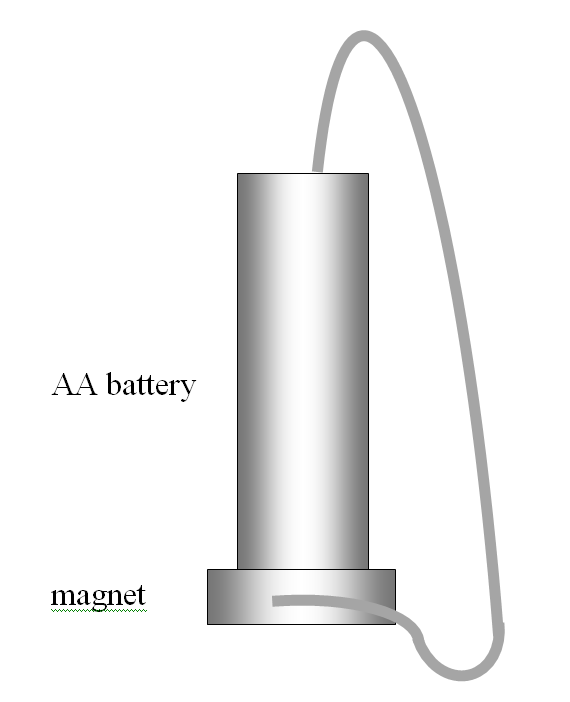 Figure 5: Motor
A slightly more challenging version uses the same principle to make a homopolar train. It consists of a AA battery with magnets at both ends which rides inside a track formed by a long coil of uninsulated copper wire. Students can explore what batteries, magnets and coil dimensions will make the fastest version.

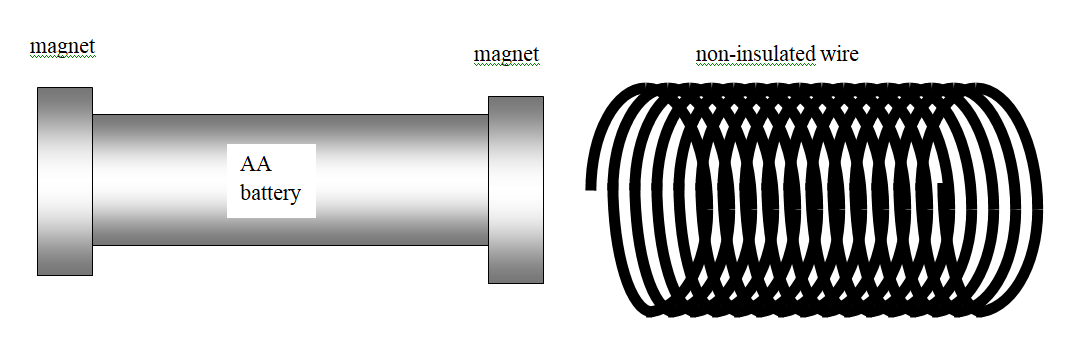 Figure 6: Homopolar train
This video showcases several different versions of the homopolar motor.
Unit E: Energy Transformations: Rocking Pendulum
Each group gets some string and a variety of masses and then they are challenged to make a pendulum that will swing in time to a piece of music. Roberta uses the song ‘
We Will Rock You’ by Queen because it is well known and the beat is really obvious. Before they start to build, you may need to help them recognize the period that they are trying to match. Have them swing their arms back and forth, so that one swing across takes the same time as singing ‘We will’. This gives a period that is a bit under 3 seconds and a pendulum length of around 2.5 m. The students have different masses and lengths of string to experiment with. When they have succeeded, they will notice that all of the pendulums have the same length but not the same mass. Once these pendulums have been made, you can discuss where the mass is moving fastest and where it is moving slowest and what sorts of energy are being exchanged. (Note: Someone told Roberta about this activity at the 2018 OAPT conference and she would love to give them credit, except she forget who it was!)
Unit E: Energy Transformations: Roller Coasters and Rube Goldberg Machines.
Building a rollercoaster or a Rube Goldberg machine can be very difficult and take up a huge amount of time. Mari-Ann tried to have her students to build a Rube Goldberg machine but she found that the students had trouble managing their time over a two-week period. In future, she plans to turn this into a series of daily challenges. Margaret recommends doing a simple roller coaster using marbles and foam pipe insulation cut in half. They can start the challenge by making a series of hills, making a loop and then making a spiral.
Unit F: Hydraulics and Pneumatics: Cartesian Divers
A Cartesian diver works because air is compressible and water is not. It consists of a dropper floating in a plastic bottle of water. When the bottle is squeezed, the dropper sinks.

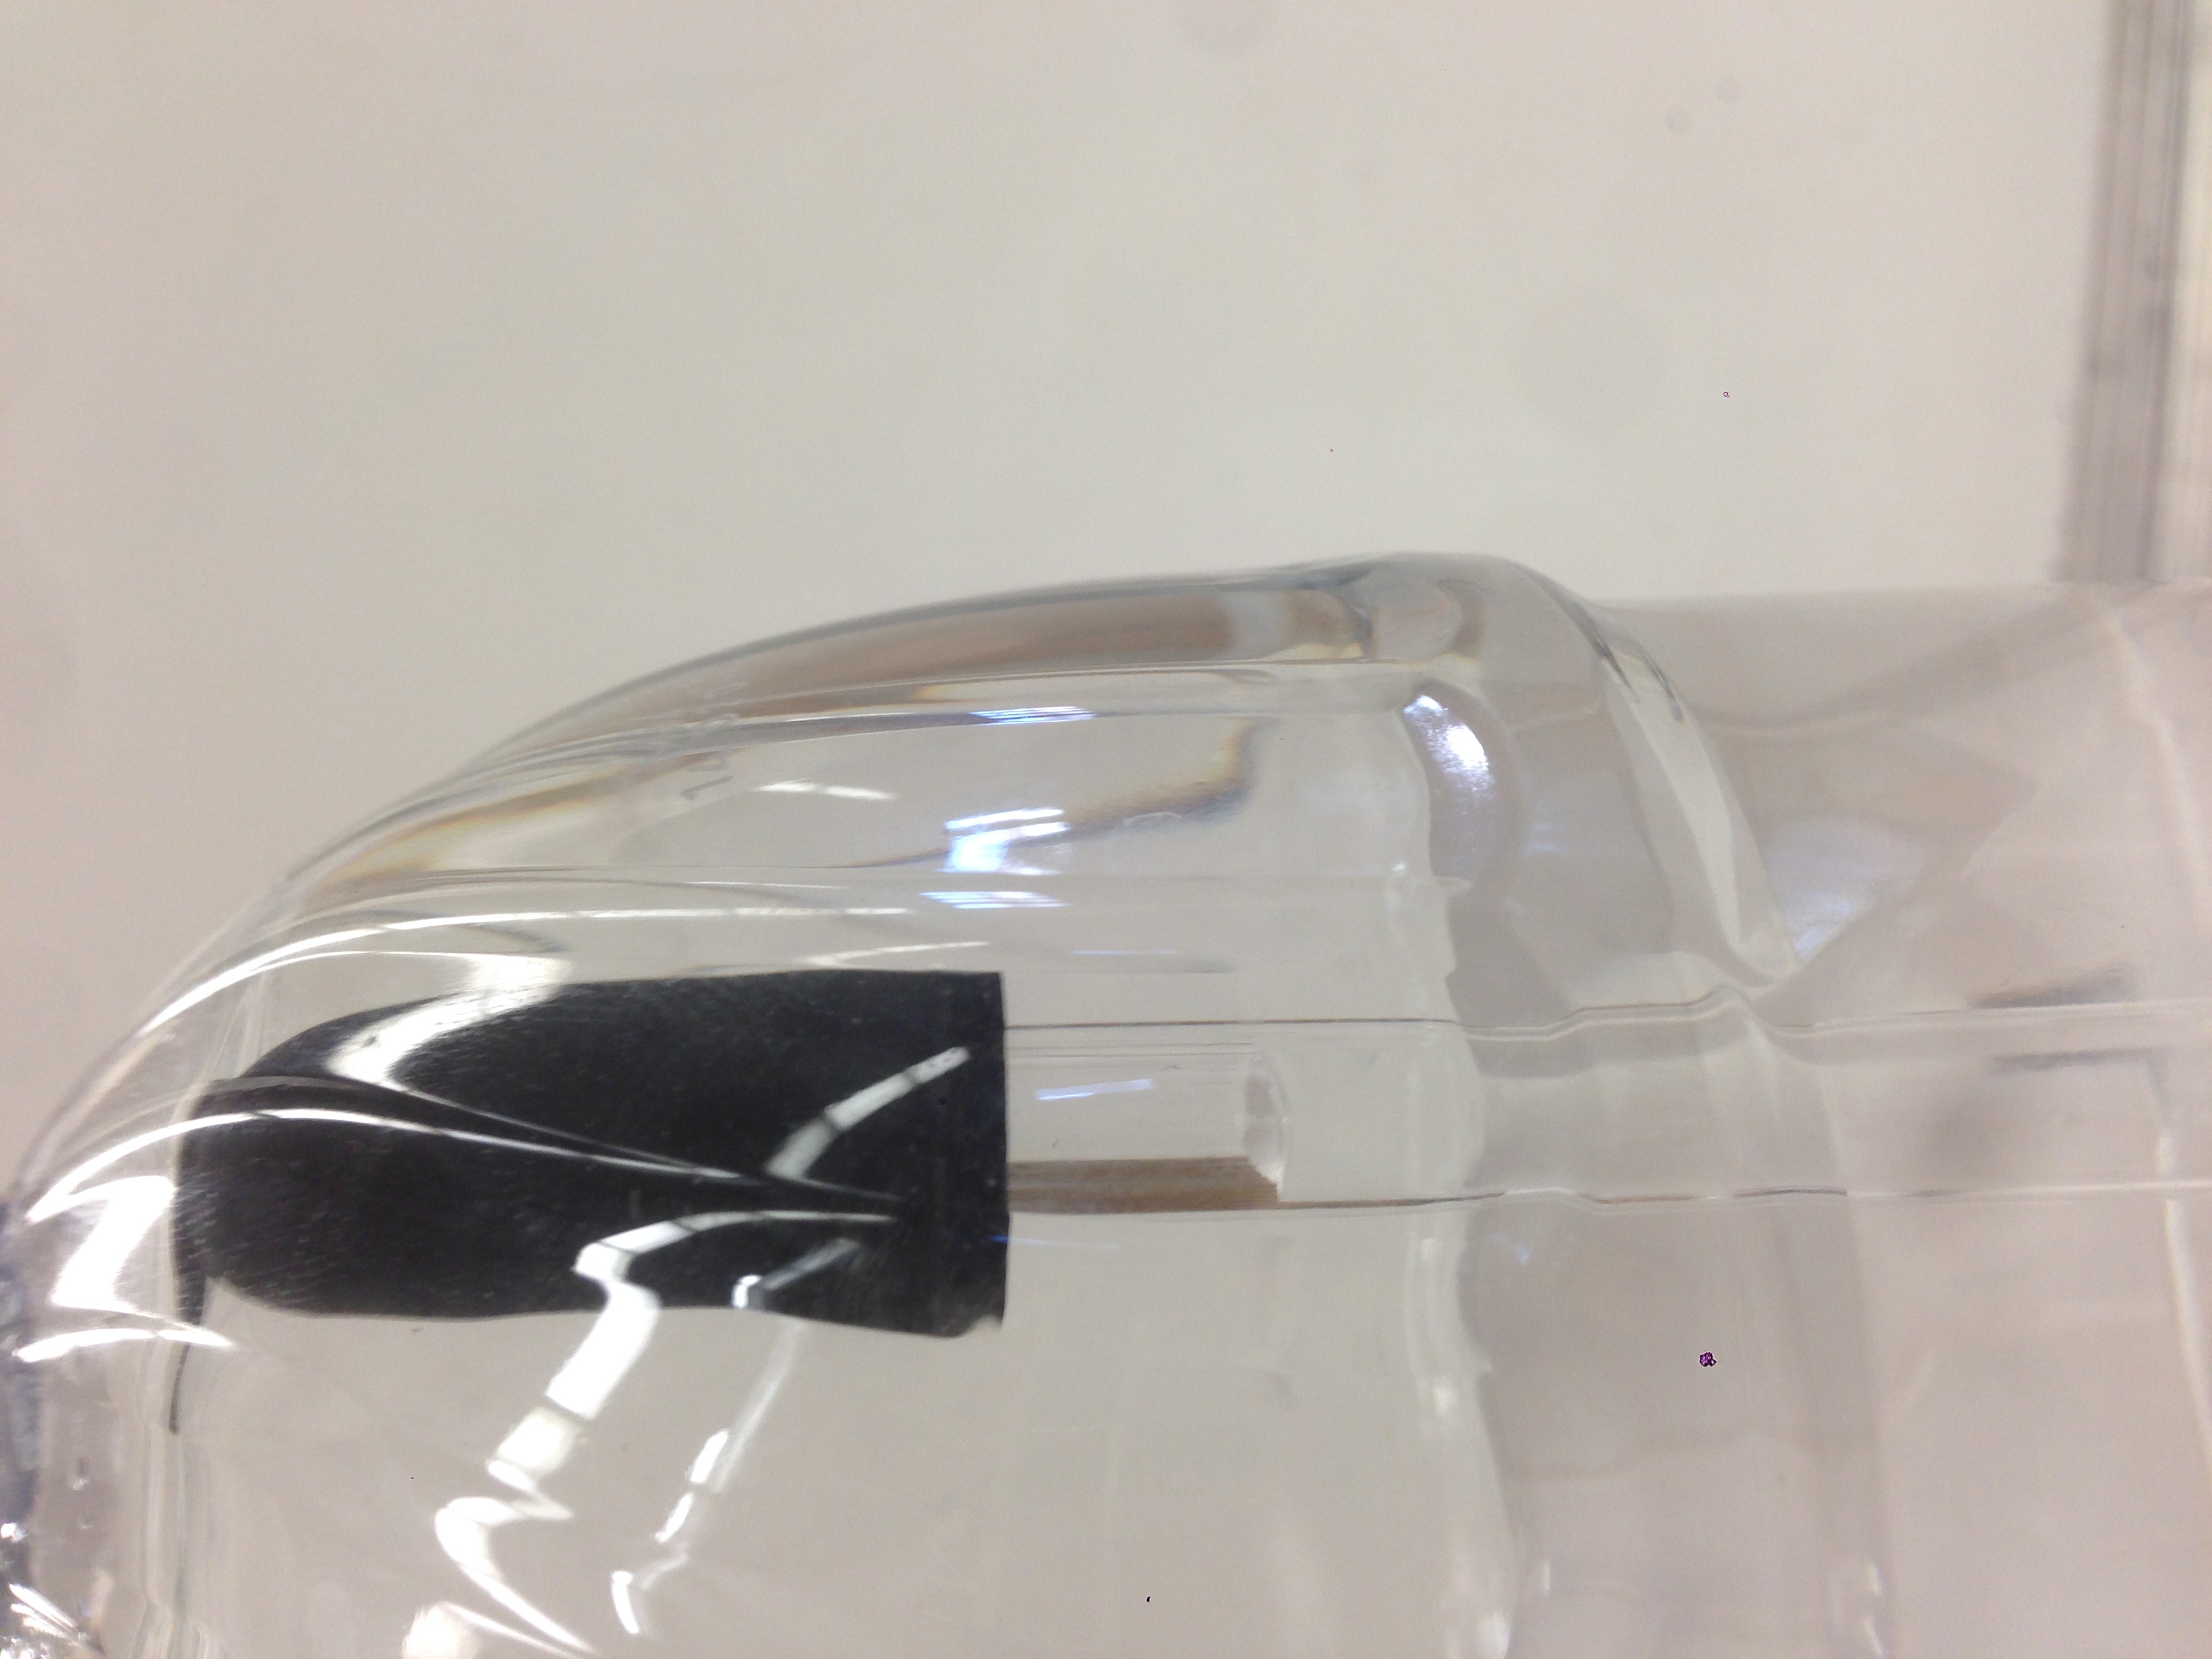 Figure 7: Diver up
 Figure 8: Diver down
After seeing a working model, the students are challenged to make one of their own. Once they get it working, they are then challenged to make it so sensitive that it can be triggered with pressure from just a thumb and pinky finger. This requires them to think about why it works. Given time, they figure out that the dropper should have an air bubble that causes it to just barely float at the surface without sticking beyond. They learn to choose bottles with thin flexible walls and to make sure that the bottle is filled to the top. A discussion of the physics and hazards of free or scuba diving follows this activity nicely.
Unit F: Hydraulics and Pneumatics: Gliders
Most students already know about making paper airplanes, but a lot of the success of these depends on how well it is thrown. A simpler device is a glider, which is just released — not propelled. The simplest glider is just a rectangular wing made from a piece of paper. If you drop the paper, it flutters back and forth. However, if you fold the front edge of the paper a few times, you make it stiffer and you move the center of mass closer to the center of lift, which is ⅓ back from the leading edge for a rectangle. It will now travel a considerable distance when released. Students can play around with the number and width of the folds and they can also add small paper clips. Margaret recommends Styrofoam meat trays are another good material to play with. They let the students experiment with the effect of rudders and elevators.
Editor’s Note: Roberta Tevlin, Margaret Scora, and Mari-Ann Goettsch will bringing materials so you can build a variety of short projects at the OAPT Conference Saturday May 4. Don’t forget to register!! Tags: College, Pedagogy
